Acquire Mini Pupper v2
You’re not restricted to the following vendor, but it’s an example of the product you need.
Step 1: Accessories
We need to get the following items from Amazon to setup the Mini Pupper.
Required Amazon Purchases
| Item | Image | Description | Amazon Link |
|---|---|---|---|
| Power Adapter | 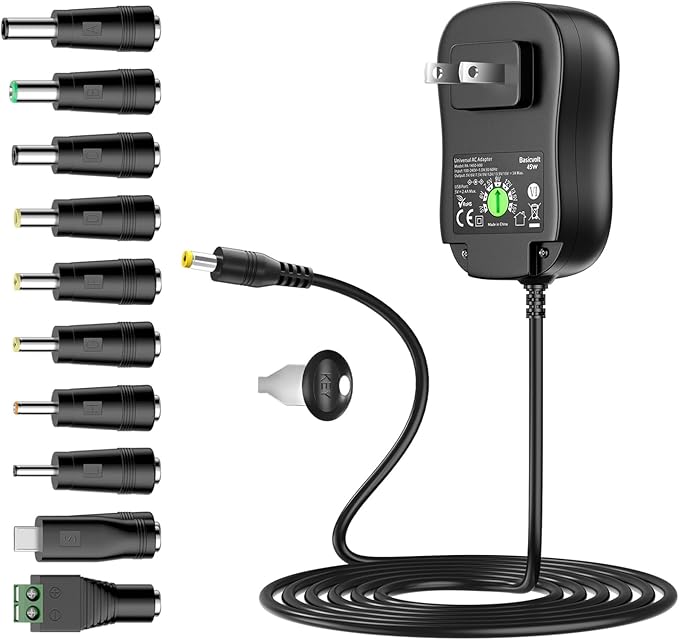 | Adjustable DC power supply (3V-12V, 3A). Set to 7.5V for Mini Pupper. Includes multiple barrel connector tips. | Buy on Amazon |
| USB Connection Cables | 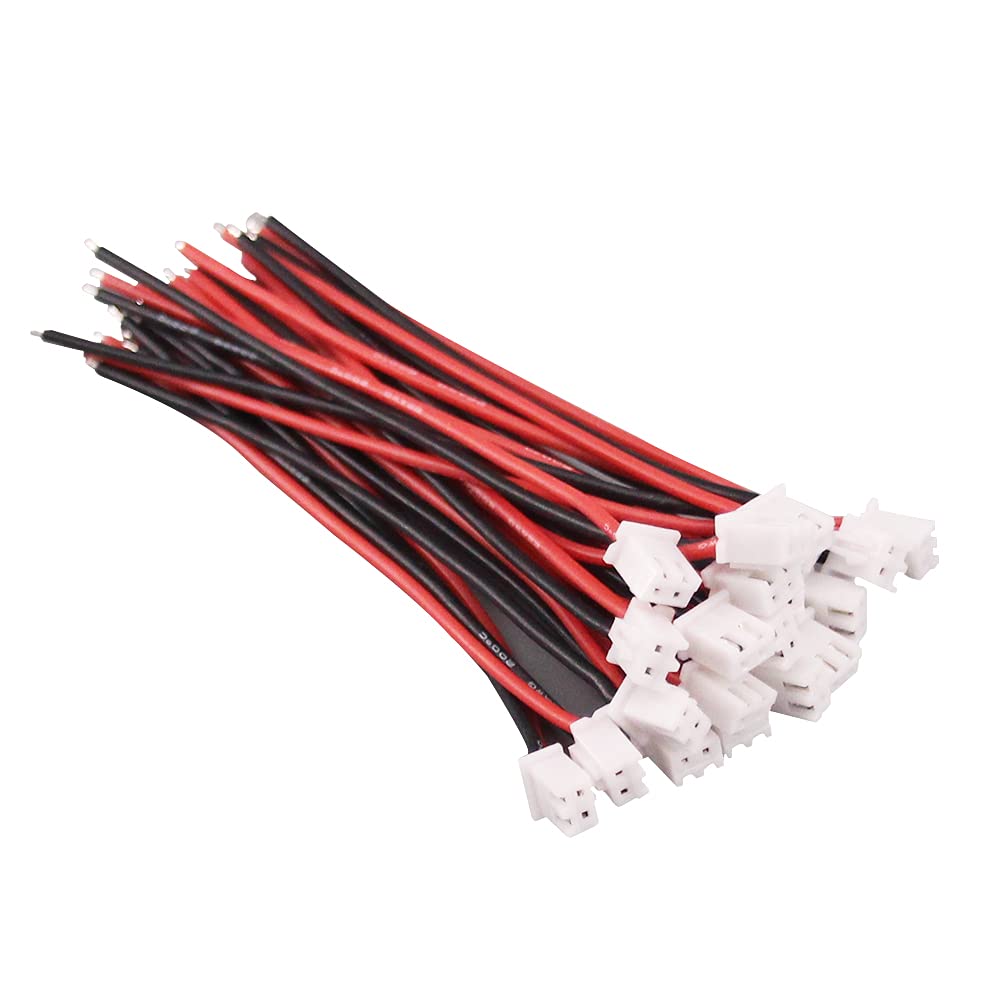 | USB-C cable for Raspberry Pi and Micro USB cable for ESP32. Used for programming, debugging, and serial console access. | Buy on Amazon |
| Cooling Fan | 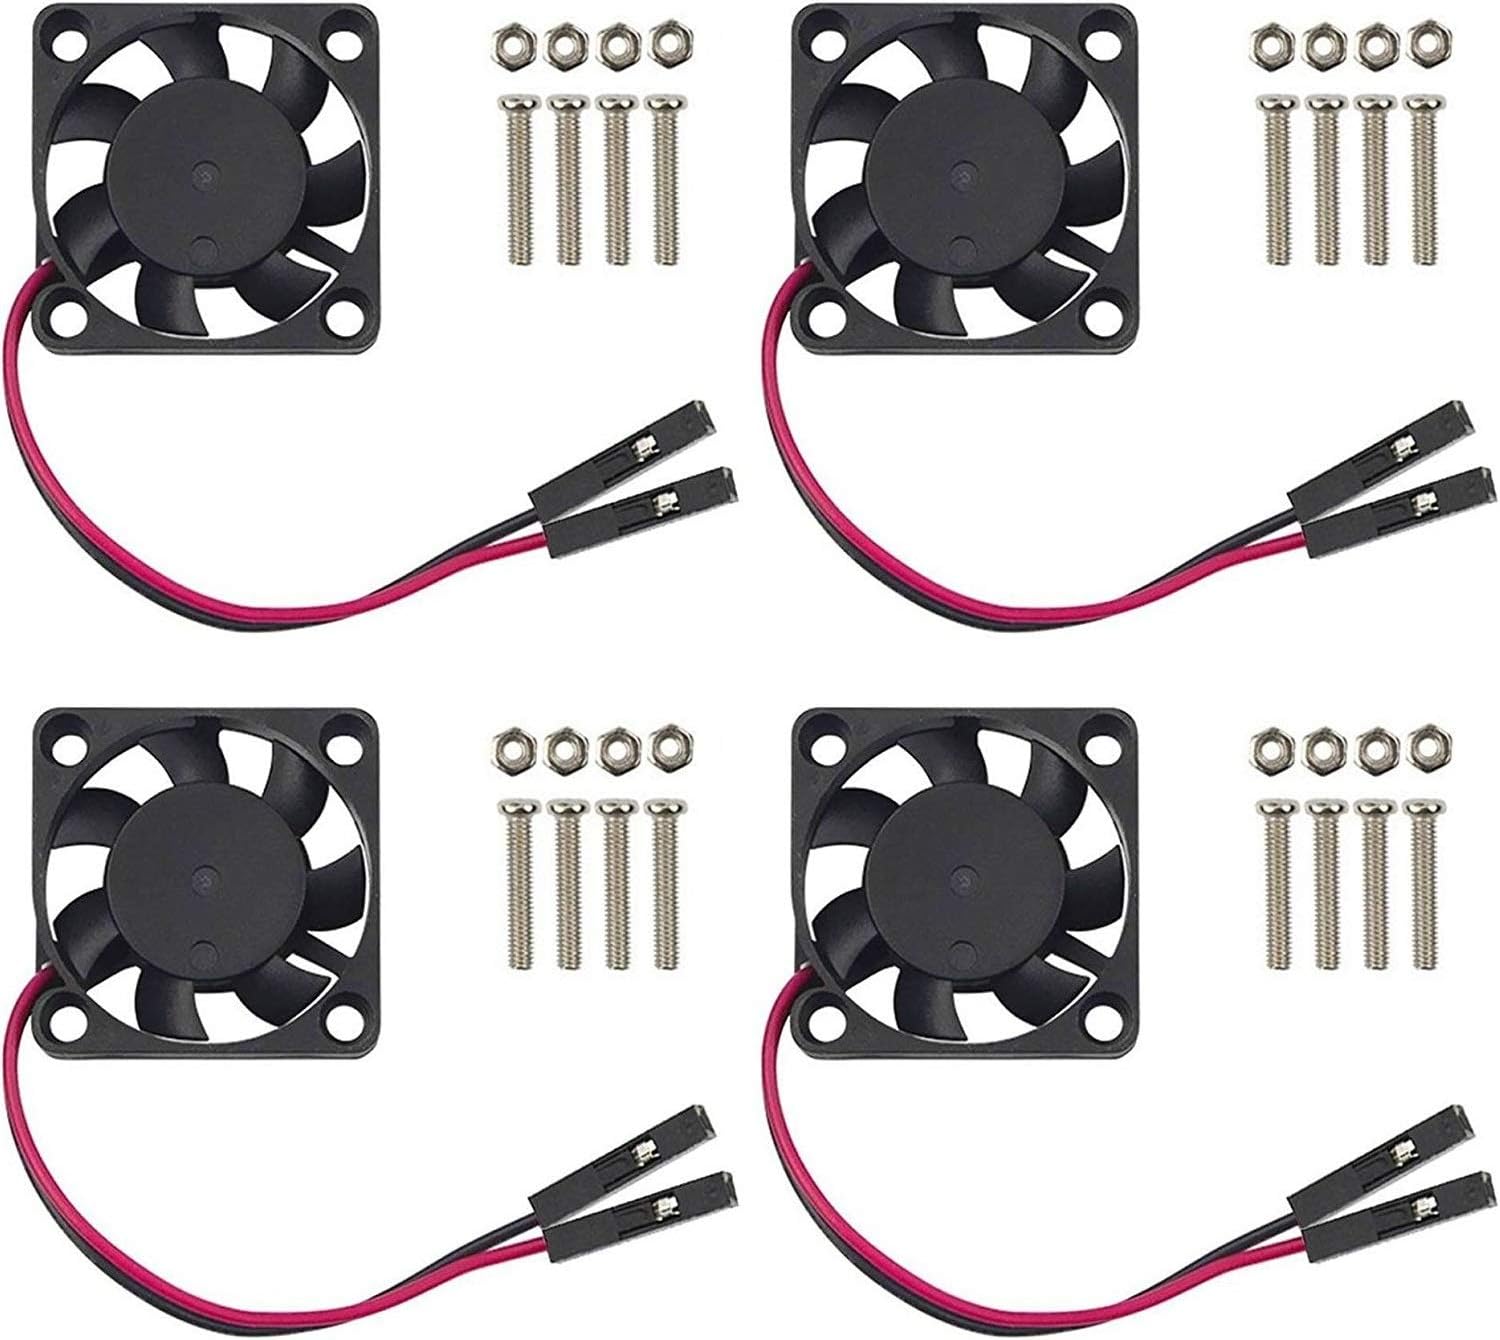 | 5V DC, 30mm x 30mm cooling fan. Connects to GPIO pins. Keeps Raspberry Pi cool during intensive tasks. | Buy on Amazon |
| Raspberry Pi Camera v2 | 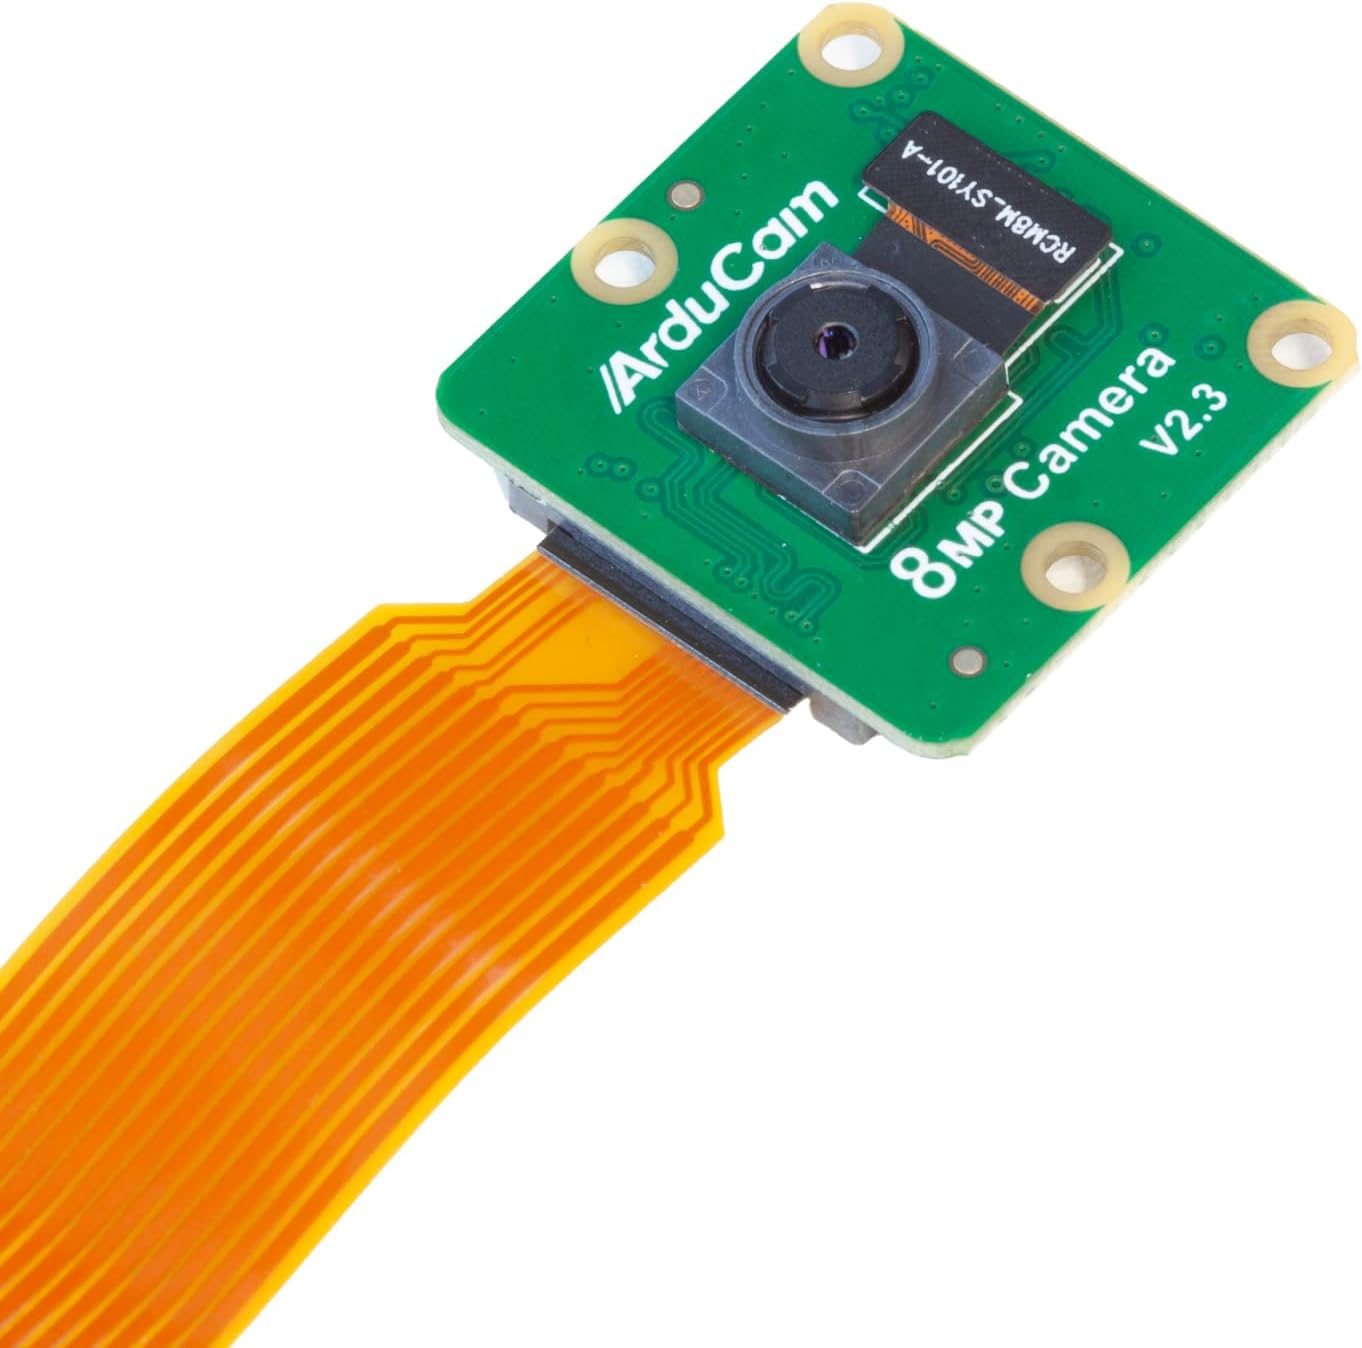 | 8MP Sony IMX219 sensor, 1080p30 video. Essential for computer vision, object detection, and AI applications. | Buy on Amazon |
| Camera Ribbon Cable | 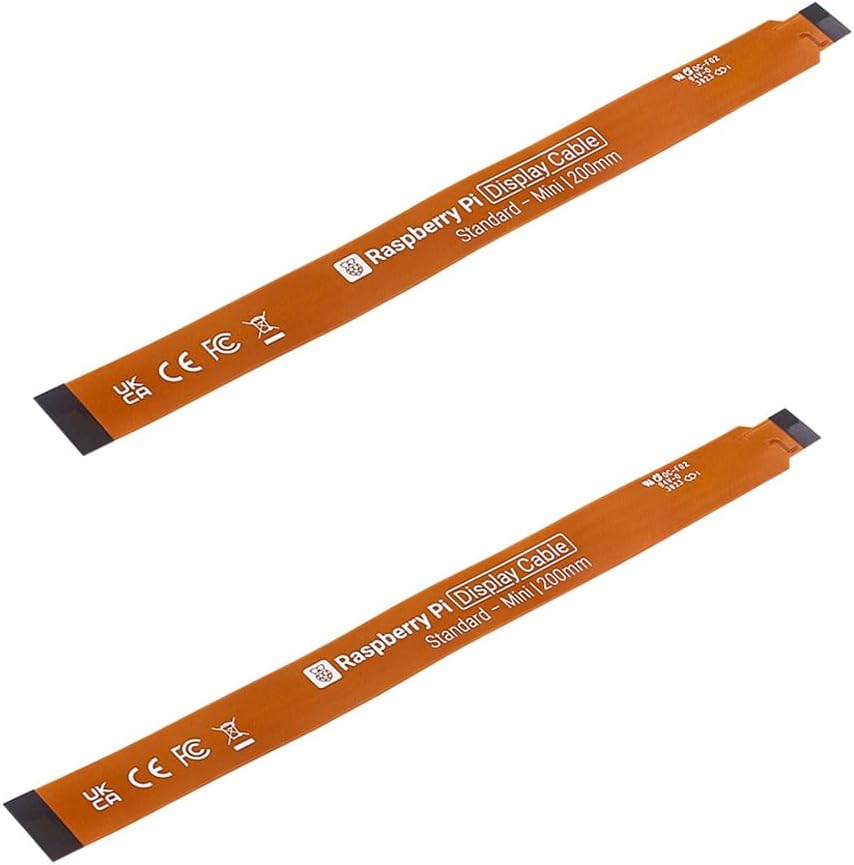 | 15-pin CSI cable, 30cm length (extended). Longer than standard cable for mounting camera on Mini Pupper’s head. | Buy on Amazon |
3D Printed Parts
You will need to download and print the following 3D printing items to mount the camera and fan.
Download Files
| Part | 3D Model | Description | Download |
|---|---|---|---|
| Camera Mount | 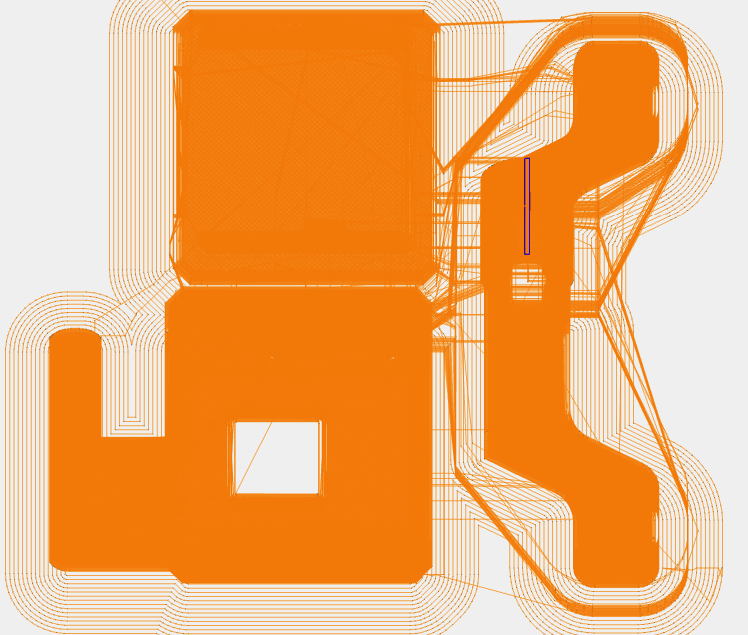 | Mount bracket for Raspberry Pi camera | camera.zip |
| Fan Mount | 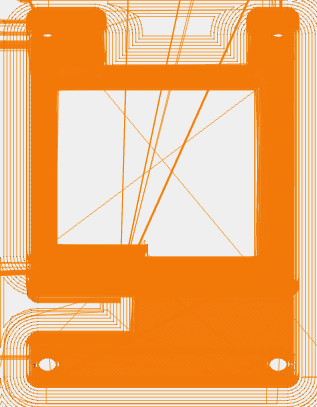 | Mount bracket for cooling fan | fan.zip |
Printing Recommendations
- Material: PLA or PETG
- Layer Height: 0.2mm
- Infill: 20-30%
- Supports: Enable as needed for overhangs
Assembly Tips
- Print all parts before assembly
- Test fit components before final mounting
- Use appropriate screws (usually M2 or M2.5)
- Ensure camera ribbon cable has clearance
Additional Recommended Items
| Item | Purpose | Notes |
|---|---|---|
| 32GB MicroSD Card (x2) | OS storage | Class 10 or higher recommended |
| MicroSD Card Reader | For flashing images | USB type |
| Micro HDMI Cable | Display connection | For troubleshooting |
| USB Keyboard | Direct input | For troubleshooting |
Next Steps
After gathering all accessories:
- Flash the SD Card - Install the operating system
- Configure WiFi - Set up network connection
- Test Hardware - Verify all components work