Windows Subsystem for Linux (WSL) Setup
This guide covers setting up Windows Subsystem for Linux (WSL) for ROS2 development with Mini Pupper.
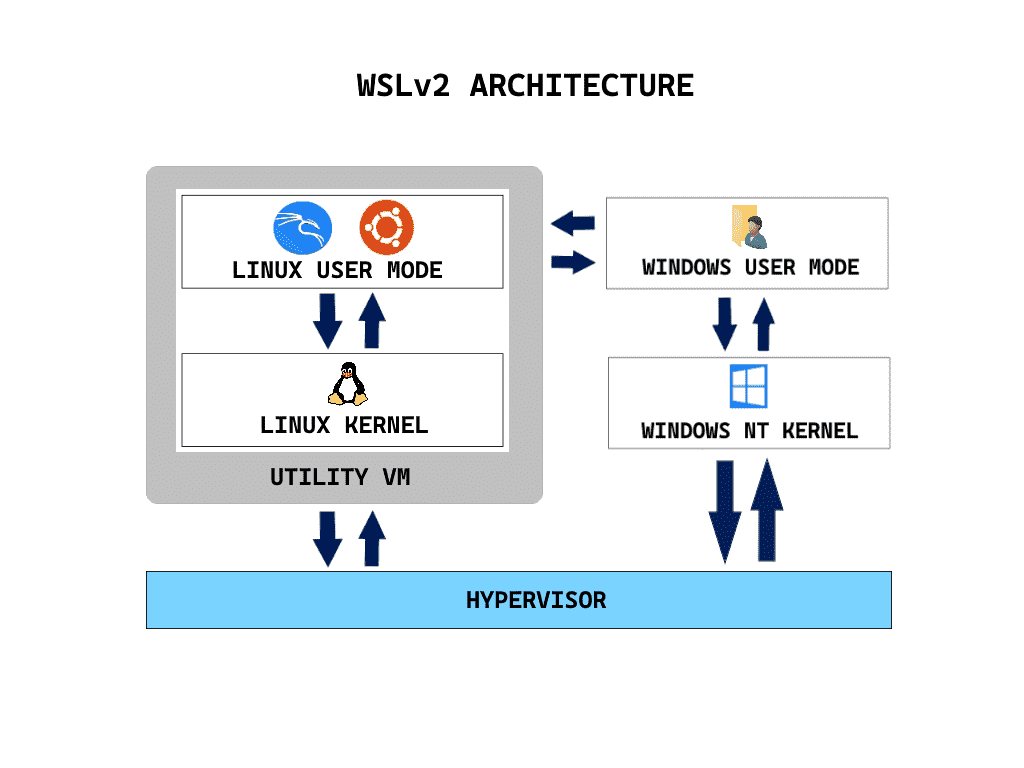
Introduction
Windows Subsystem for Linux (WSL) allows you to run a Linux environment directly on Windows. This is essential for ROS2 development on Windows machines.
Part 1: Enable and Install WSL
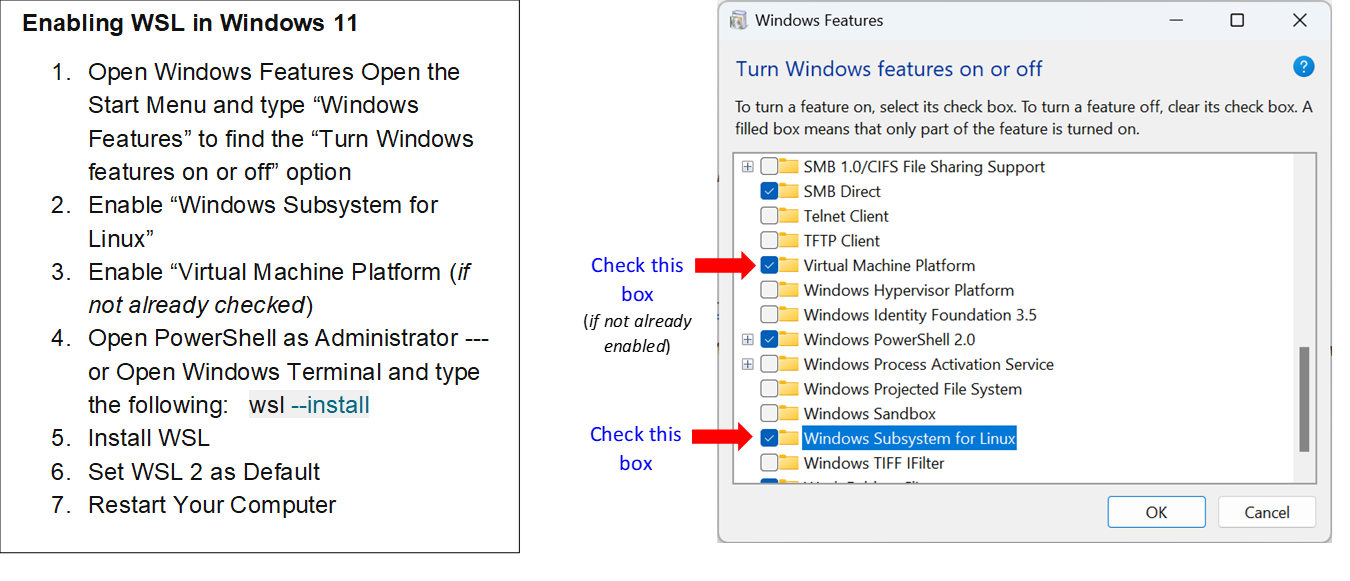
Step 1: Enable WSL Feature
You need to enable WSL through Windows Features:
- Press
Win + R, typeoptionalfeaturesand press Enter - Check “Windows Subsystem for Linux”
- Click OK and restart your computer
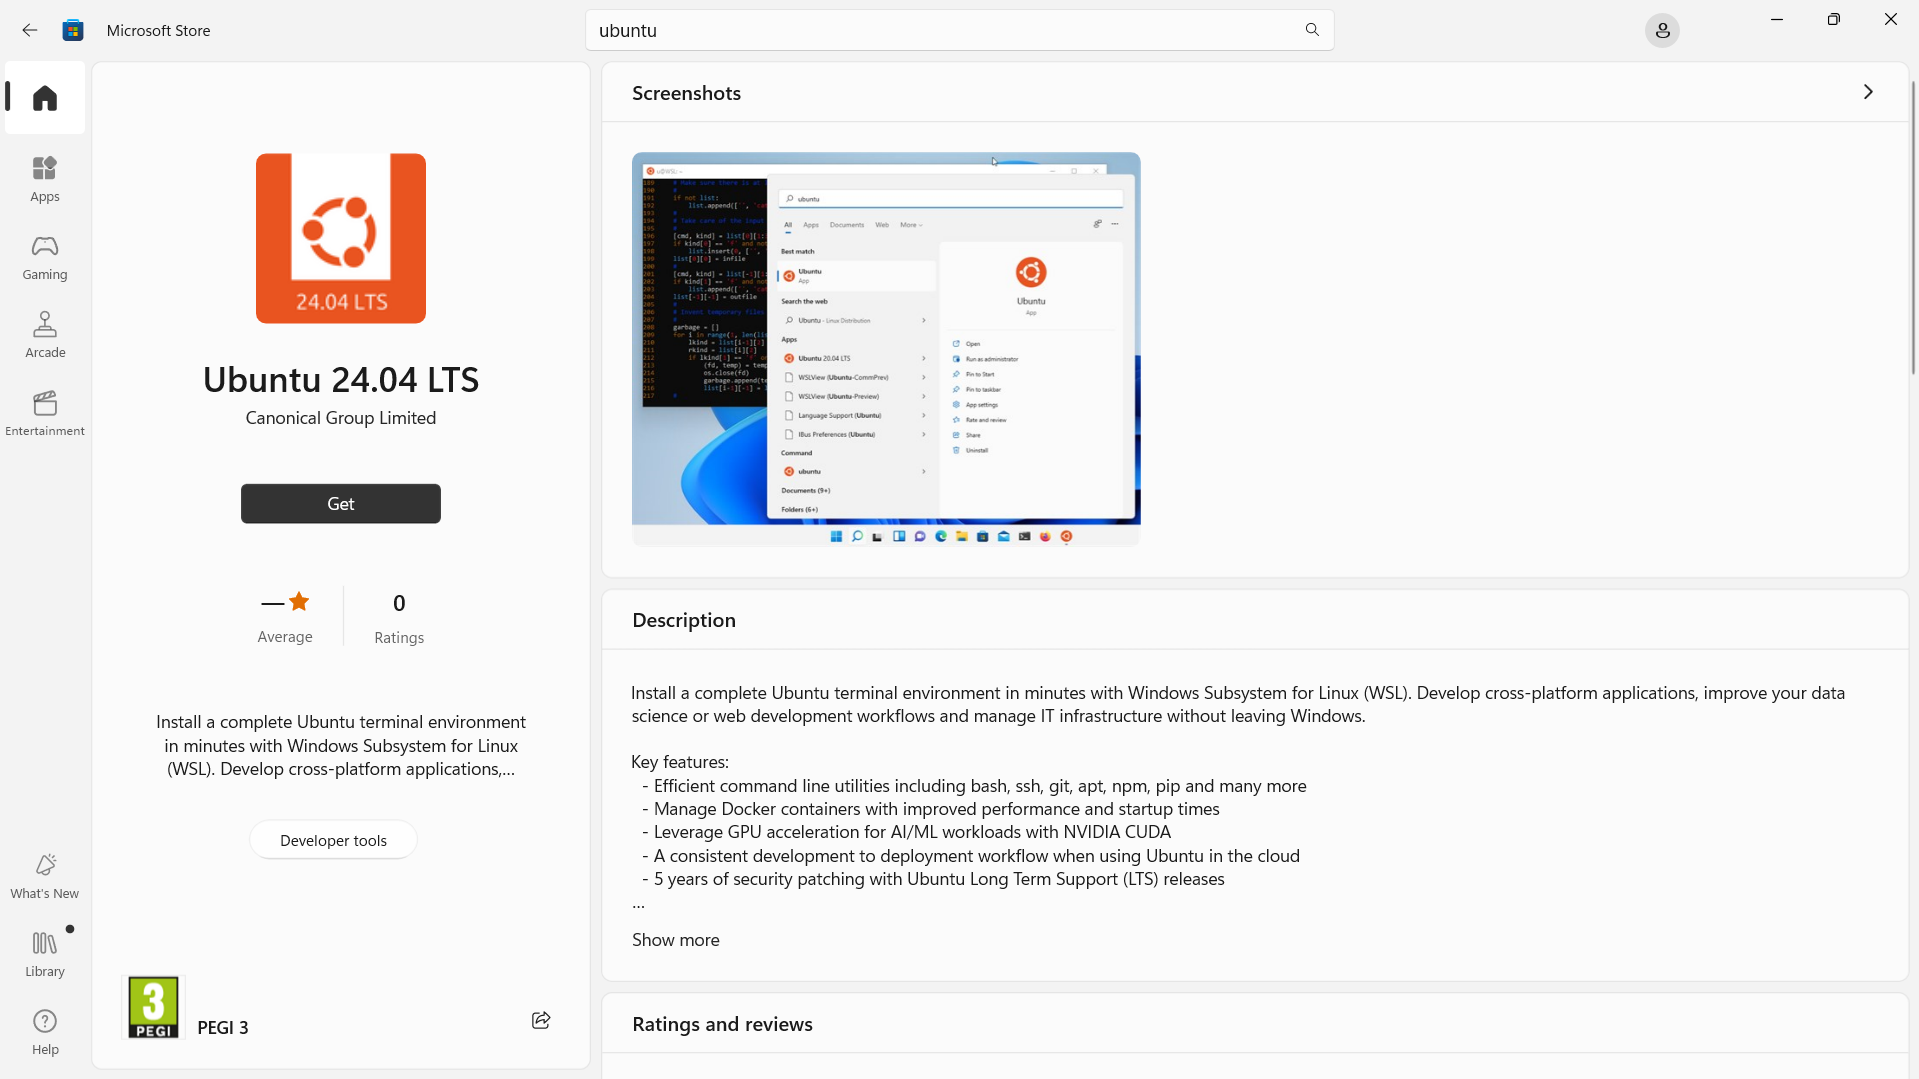
Step 2: Install Ubuntu 22.04
Option A: Using PowerShell (Recommended)
Open PowerShell as Administrator and run:
wsl --install -d Ubuntu-22.04
Option B: Using Microsoft Store
If the command doesn’t work:
- Open Microsoft Store
- Search for “Ubuntu 22.04 LTS”
- Click “Get” to install
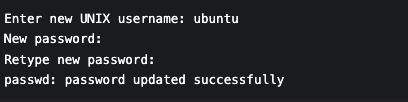
Step 3: Create User Account
When prompted, enter:
- Username:
ubuntu - Password: (choose a secure password)
Step 4: Update System Packages
Run these commands in your Ubuntu terminal:
sudo apt update && sudo apt upgrade -y
sudo apt install ubuntu-wsl -y

# Easy use of VS Code
code .
Part 2: Post-Installation Tips
File Access
- Access Windows files from Linux:
/mnt/c/ - Access Linux files from Windows:
\\wsl$\Ubuntu-22.04
Recommended Terminal
Install Windows Terminal for a better experience.
WSL Basic Commands
wsl --list --verbose   # List installed distributions
wsl --shutdown         # Stop all WSL instances
wsl -d Ubuntu-22.04    # Start specific distribution
Part 3: Configure WSL Mirror Mode
Mirror mode allows WSL to share the same IP address as your Windows host, which is essential for ROS2 networking.
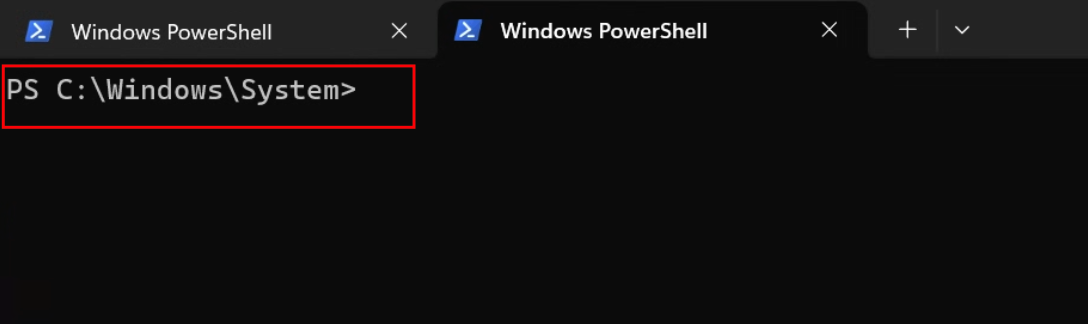
Step 1: Open PowerShell
Make sure you open PowerShell (look for “PS” in the prompt).
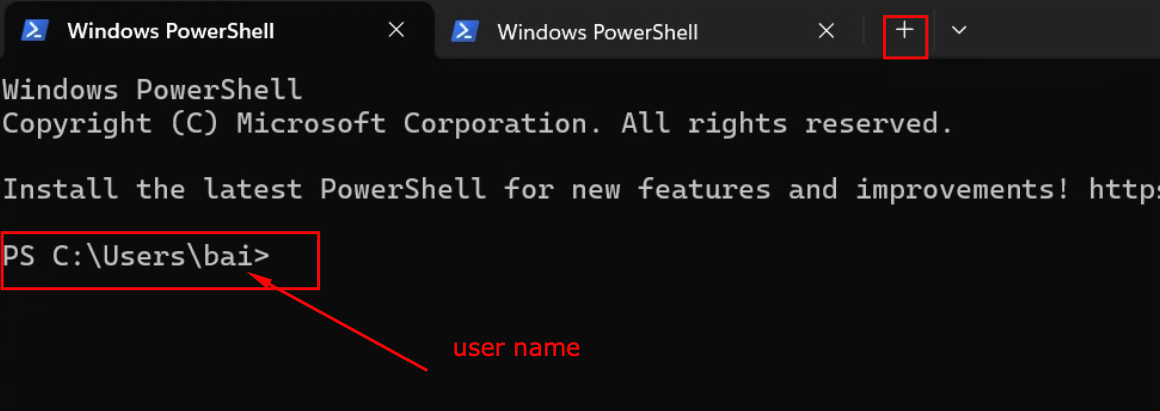
Step 2: Navigate to Home Directory
Click on the plus sign and make sure the directory is C:\Users\username
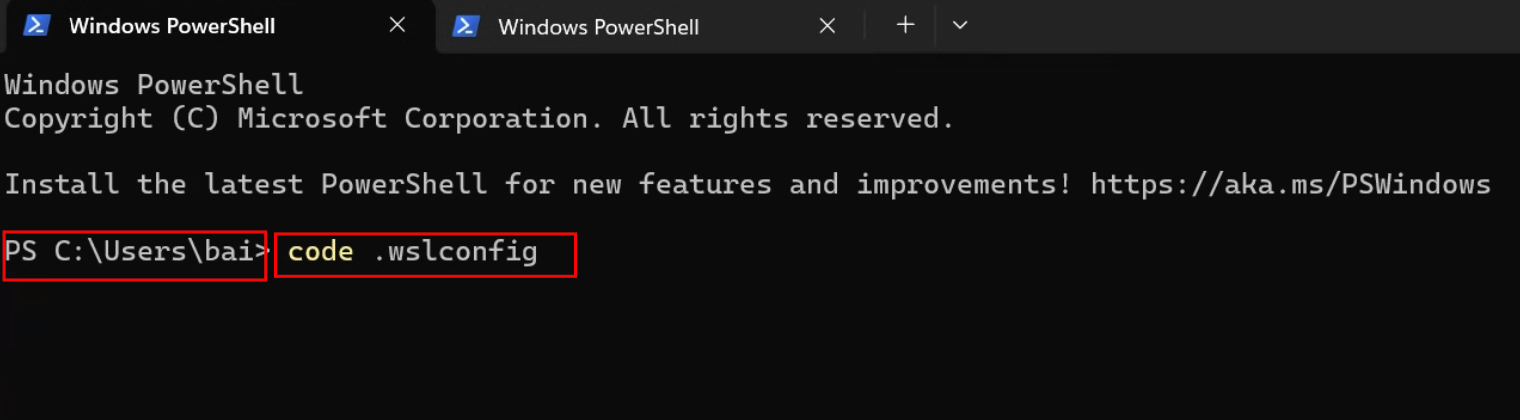
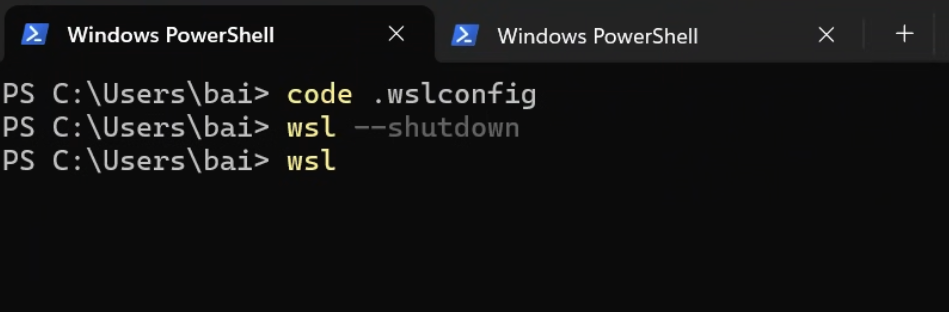
Step 3: Create .wslconfig File
Open VS Code to create the config file:
code .wslconfig
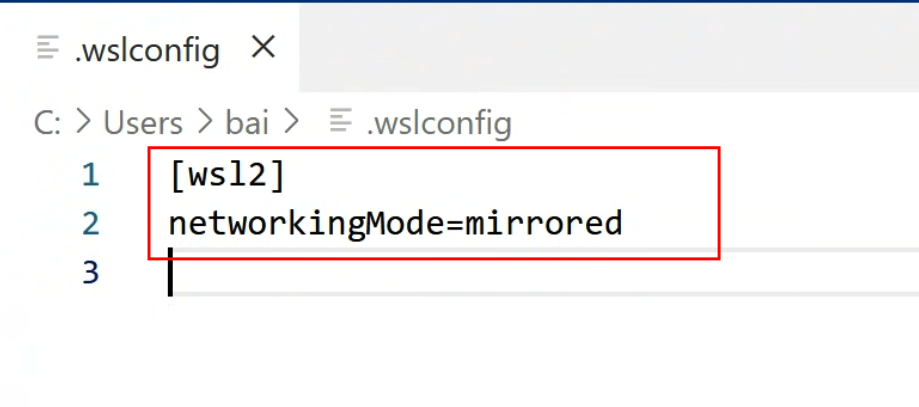
Step 4: Add Configuration Content
Add the following content to .wslconfig:
[wsl2]
networkingMode=mirrored

[network]
generateHosts = false
generateResolvConf = false
multicast = true
Step 5: Reboot WSL
After saving the configuration, reboot WSL:
wsl --shutdown
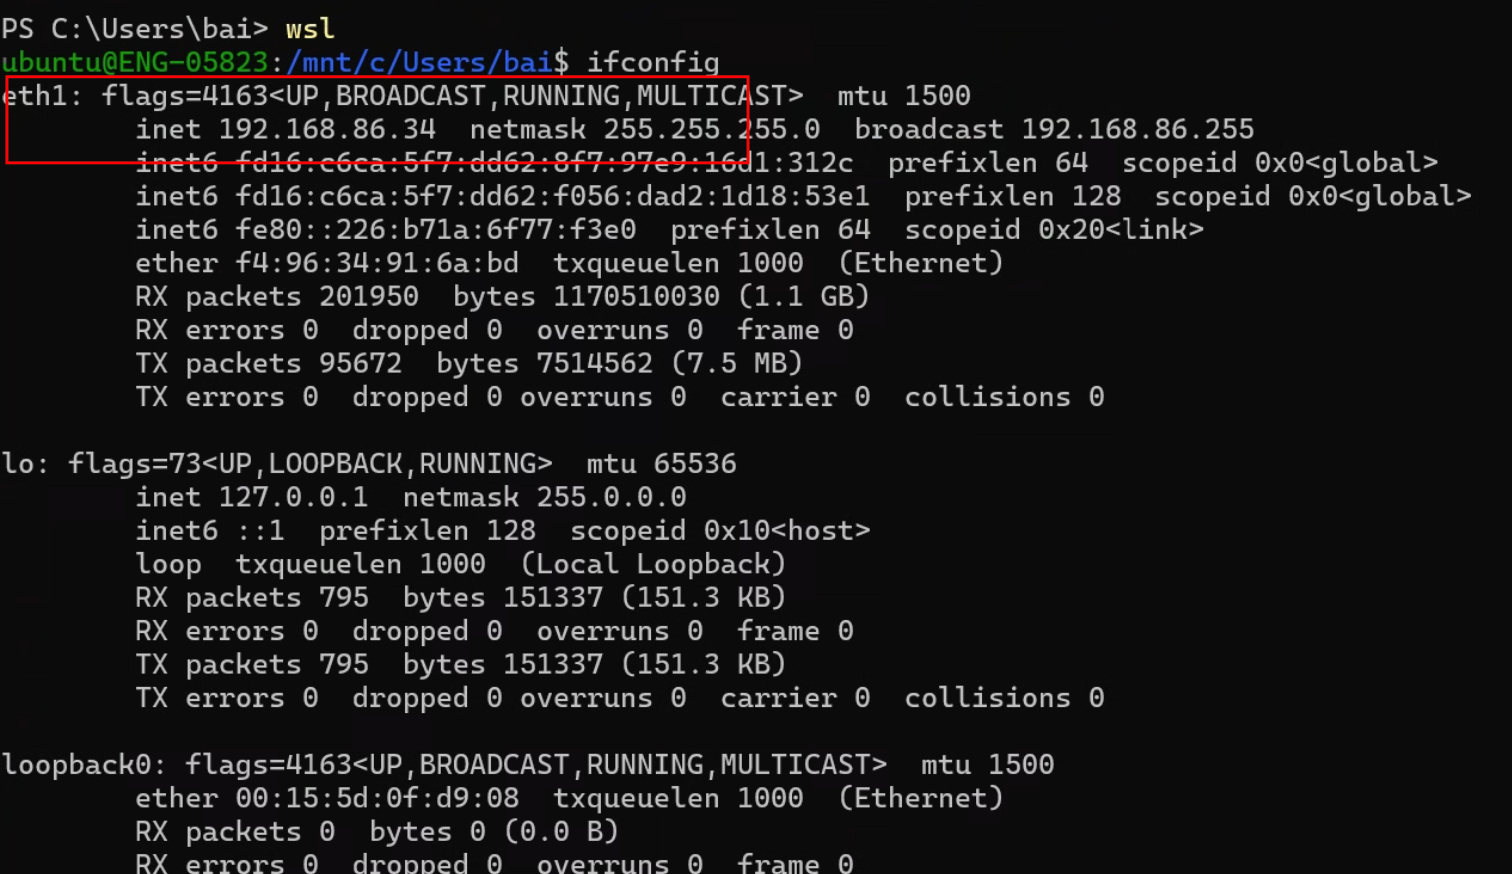
Step 6: Verify IP Address
Check that the IP address is the same as your host PC:
Part 4: Reset Ubuntu (If Needed)
Clean Up Existing Installation
wsl -l
wsl --unregister ubuntu-22.04
Reinstall Ubuntu
Make sure your username is ubuntu:
wsl --install -d ubuntu-22.04
Part 5: Install ROS2 Desktop
Option 1: Using Mini Pupper ROS Script
git clone https://github.com/mangdangroboticsclub/mini_pupper_ros
cd mini_pupper_ros

# Revise the base to desktop ROS2 install
bash ./pc_install.sh
Option 2: Manual Installation
# Reset ros2_ws
rm -rf ~/ros2_ws/
mkdir -p ~/ros2_ws/src
cd ~/ros2_ws/src/

# Clone the repository
git clone -b stanford_control https://github.com/lbaitemple/mini_pupper_ros_aws mini_pupper_ros
vcs import < mini_pupper_ros/.minipupper.repos --recursive

# Install dependencies
cd ~/ros2_ws
rosdep install --from-paths src --ignore-src -r -y

# Install additional packages
sudo apt install -y ros-humble-teleop-twist-keyboard ros-humble-teleop-twist-joy
sudo apt install -y ros-humble-v4l2-camera ros-humble-image-transport-plugins
sudo apt install -y ros-humble-rqt*
sudo apt install python3-pip -y
pip3 install simple_pid

# Build
colcon build --symlink-install
Option 3: Easy Way
git clone -b stanford_control http://github.com/lbaitemple/mini_pupper_ros_aws
cd mini_pupper_ros_aws
bash ./pc_install.sh
Part 6: Configure Firewall for ROS2
ROS2 uses specific UDP ports for communication. You need to enable these in Windows Firewall.
Step 1: Determine Ports Based on ROS_DOMAIN_ID
For ROS_DOMAIN_ID=30, the ports are:
- Discovery: 13400
- Topics: 13410
Step 2: Enable Firewall Rules (PowerShell Admin)
# Allow UDP port 13400 (discovery)
New-NetFirewallRule -DisplayName "ROS2 Domain 30 Discovery" -Direction Inbound -Protocol UDP -LocalPort 13400 -Action Allow

# Allow UDP port 13410 (topic data)
New-NetFirewallRule -DisplayName "ROS2 Domain 30 Topics" -Direction Inbound -Protocol UDP -LocalPort 13410 -Action Allow

# Also allow the range for multicast (optional but recommended)
New-NetFirewallRule -DisplayName "ROS2 Multicast" -Direction Inbound -Protocol UDP -LocalPort 13400-13410 -Action Allow
Step 3: Restart WSL
wsl --shutdown
wsl
Step 4: Verify ROS2 Topics
export ROS_DOMAIN_ID=30  # if the ID is set to 30
ros2 daemon start        # may need to start the daemon in mirror mode
ros2 topic list
Part 7: Run RViz
Launch Mini Pupper Robot Model (Simulation)
source ~/ros2_ws/install/setup.bash
ros2 launch mini_pupper_bringup bringup.launch.py hardware_connected:=False
Launch RViz for Visualization
In a second terminal:
source ~/ros2_ws/install/setup.bash
ros2 launch mini_pupper_bringup rviz.launch.py
Run Teleop Keyboard
In a third terminal:
source ~/ros2_ws/install/setup.bash
ros2 run teleop_twist_keyboard teleop_twist_keyboard
Part 8: Run Gazebo Simulation
Launch Gazebo
Terminal 1:
source ~/ros2_ws/install/setup.bash
ros2 launch mini_pupper_simulation main.launch.py
Launch Robot Control
Terminal 2:
source ~/ros2_ws/install/setup.bash
ros2 run teleop_twist_keyboard teleop_twist_keyboard
Troubleshooting
| Issue | Solution |
|---|---|
| WSL won’t start | Run wsl --shutdown then restart |
| Network issues | Check .wslconfig mirror mode settings |
| ROS2 topics not visible | Verify firewall rules and ROS_DOMAIN_ID |
| Permission denied | Run PowerShell as Administrator |
Summary
In this guide, you learned:
- How to install and configure WSL with Ubuntu 22.04
- How to set up mirror mode for ROS2 networking
- How to install ROS2 Desktop for Mini Pupper development
- How to configure Windows Firewall for ROS2
- How to run RViz and Gazebo simulations