Connecting the Adapter and Connection Cables
This guide shows you how to properly connect the power adapter, camera ribbon cable, and cooling fan to your Mini Pupper v2.
Power Adapter Setup
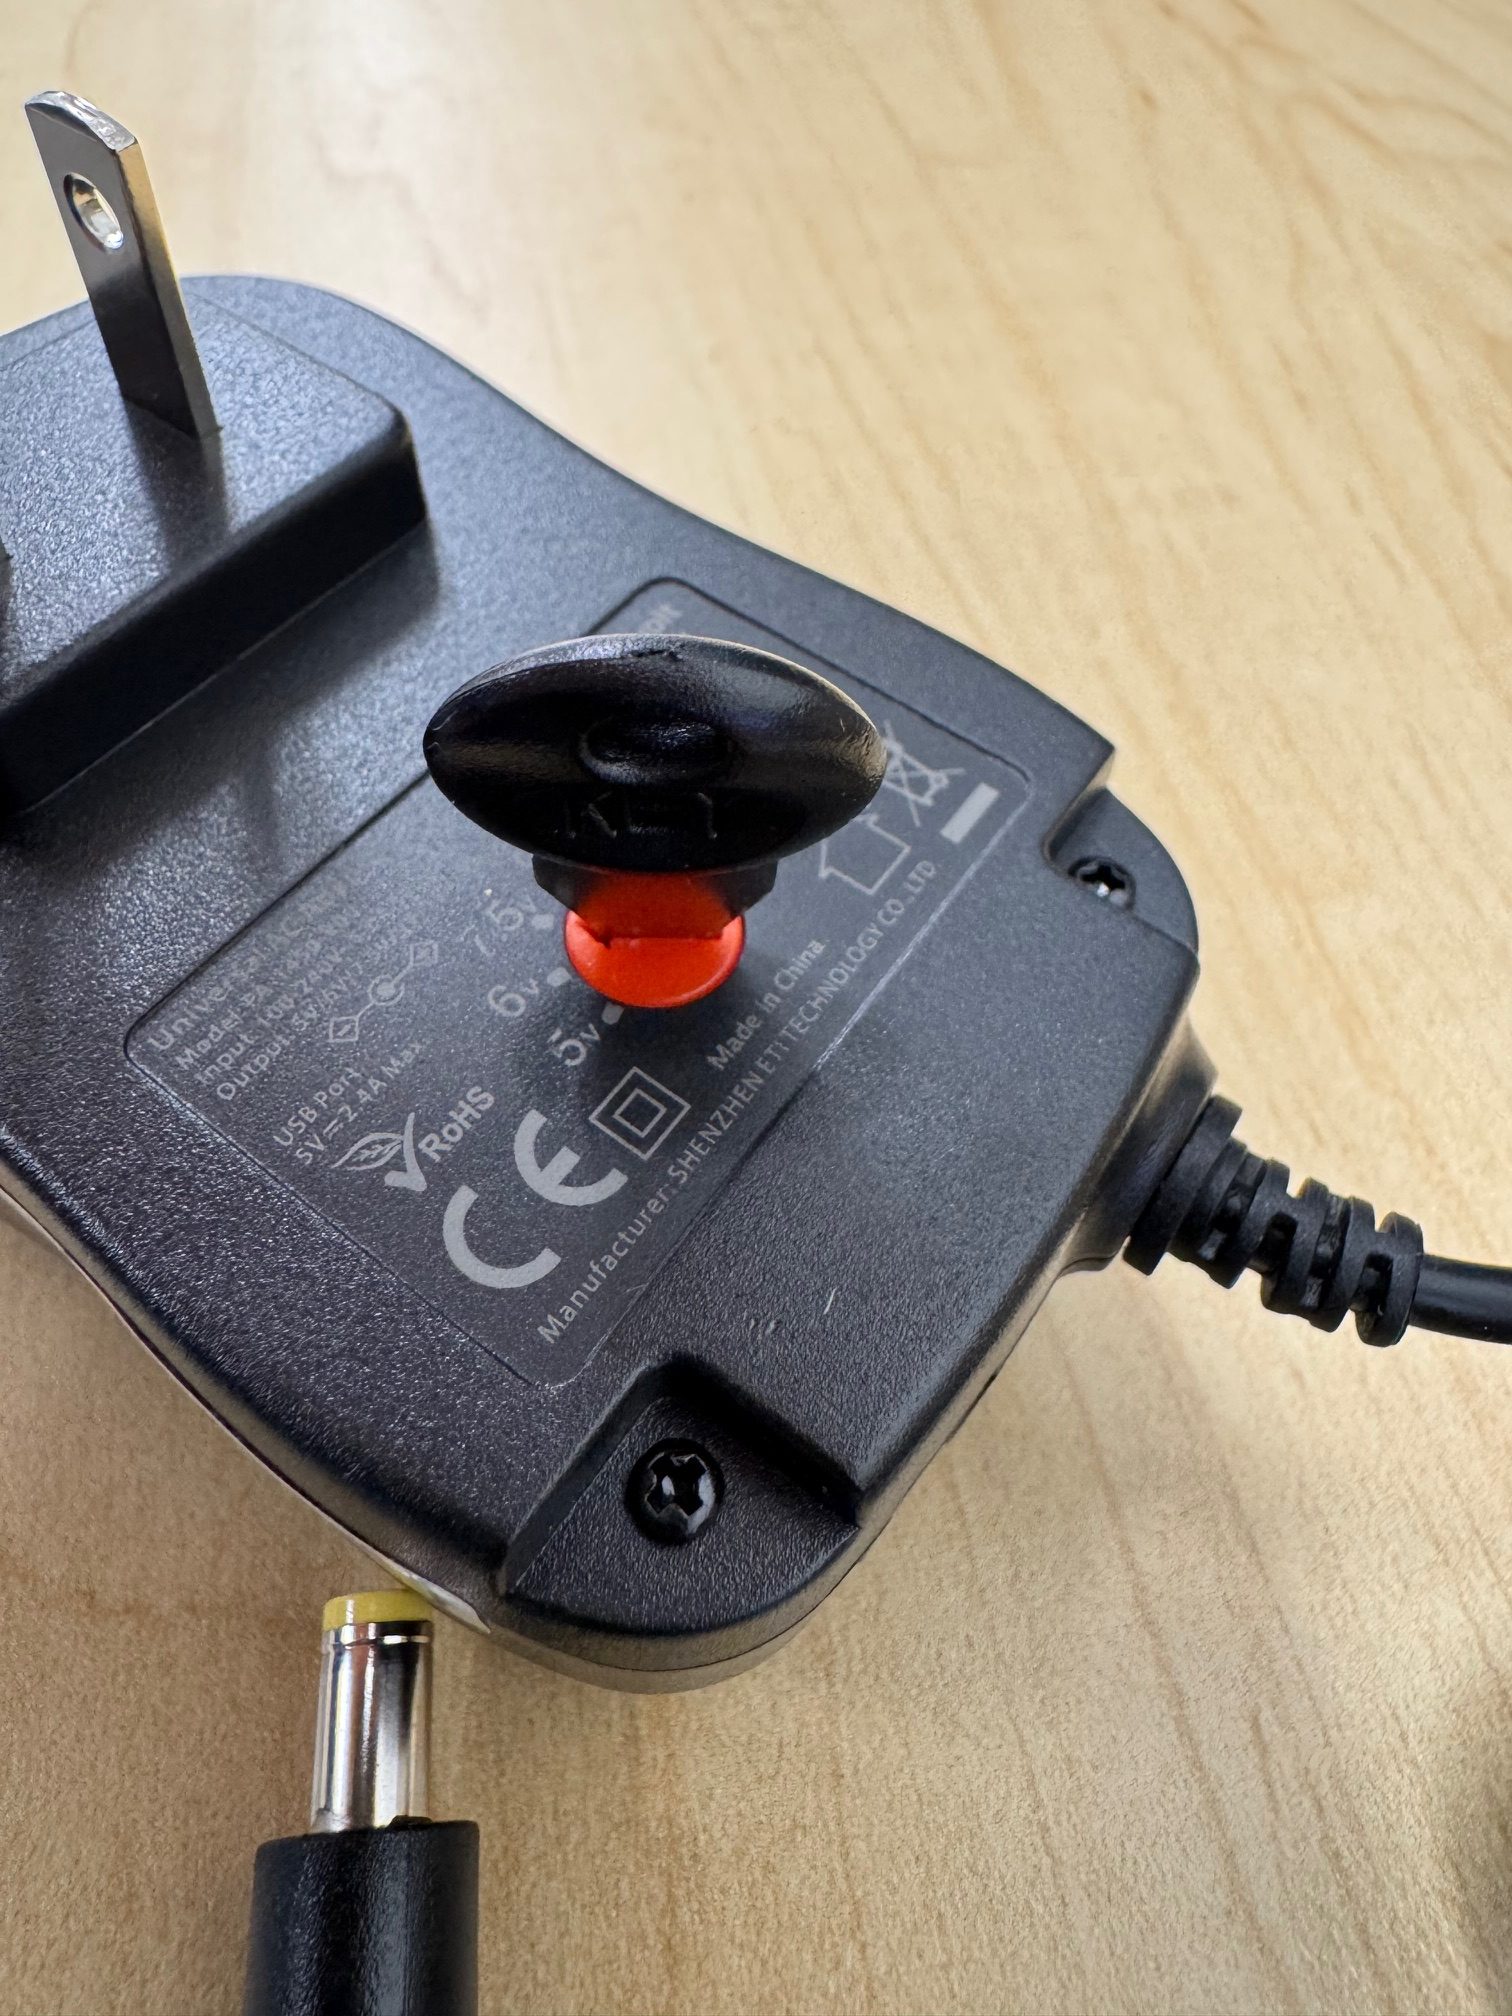
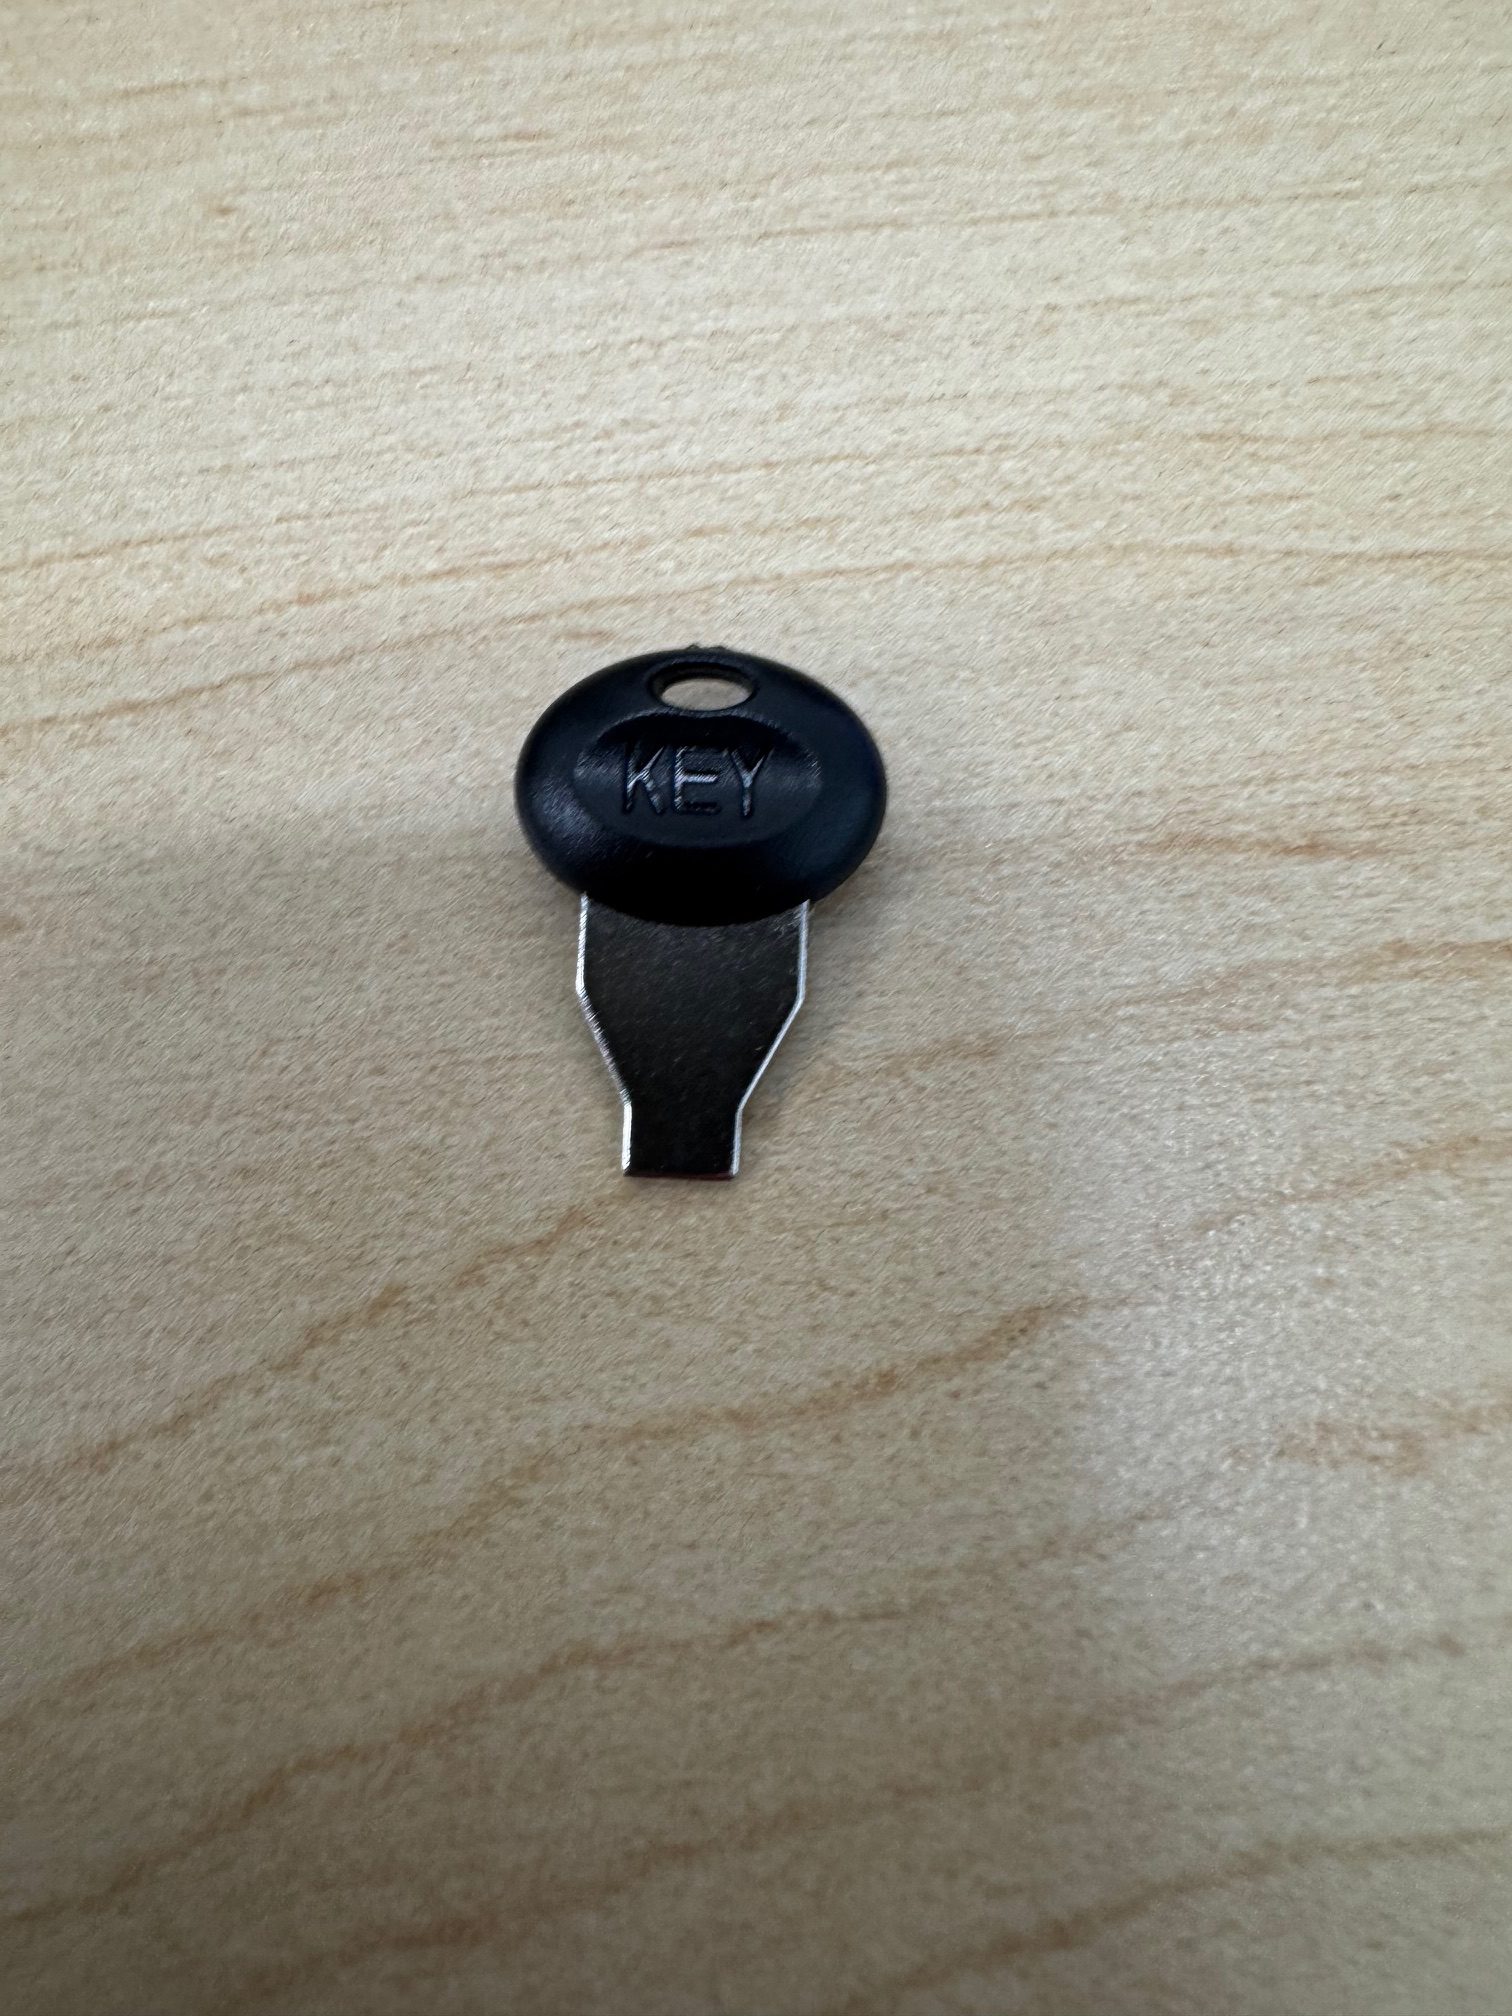
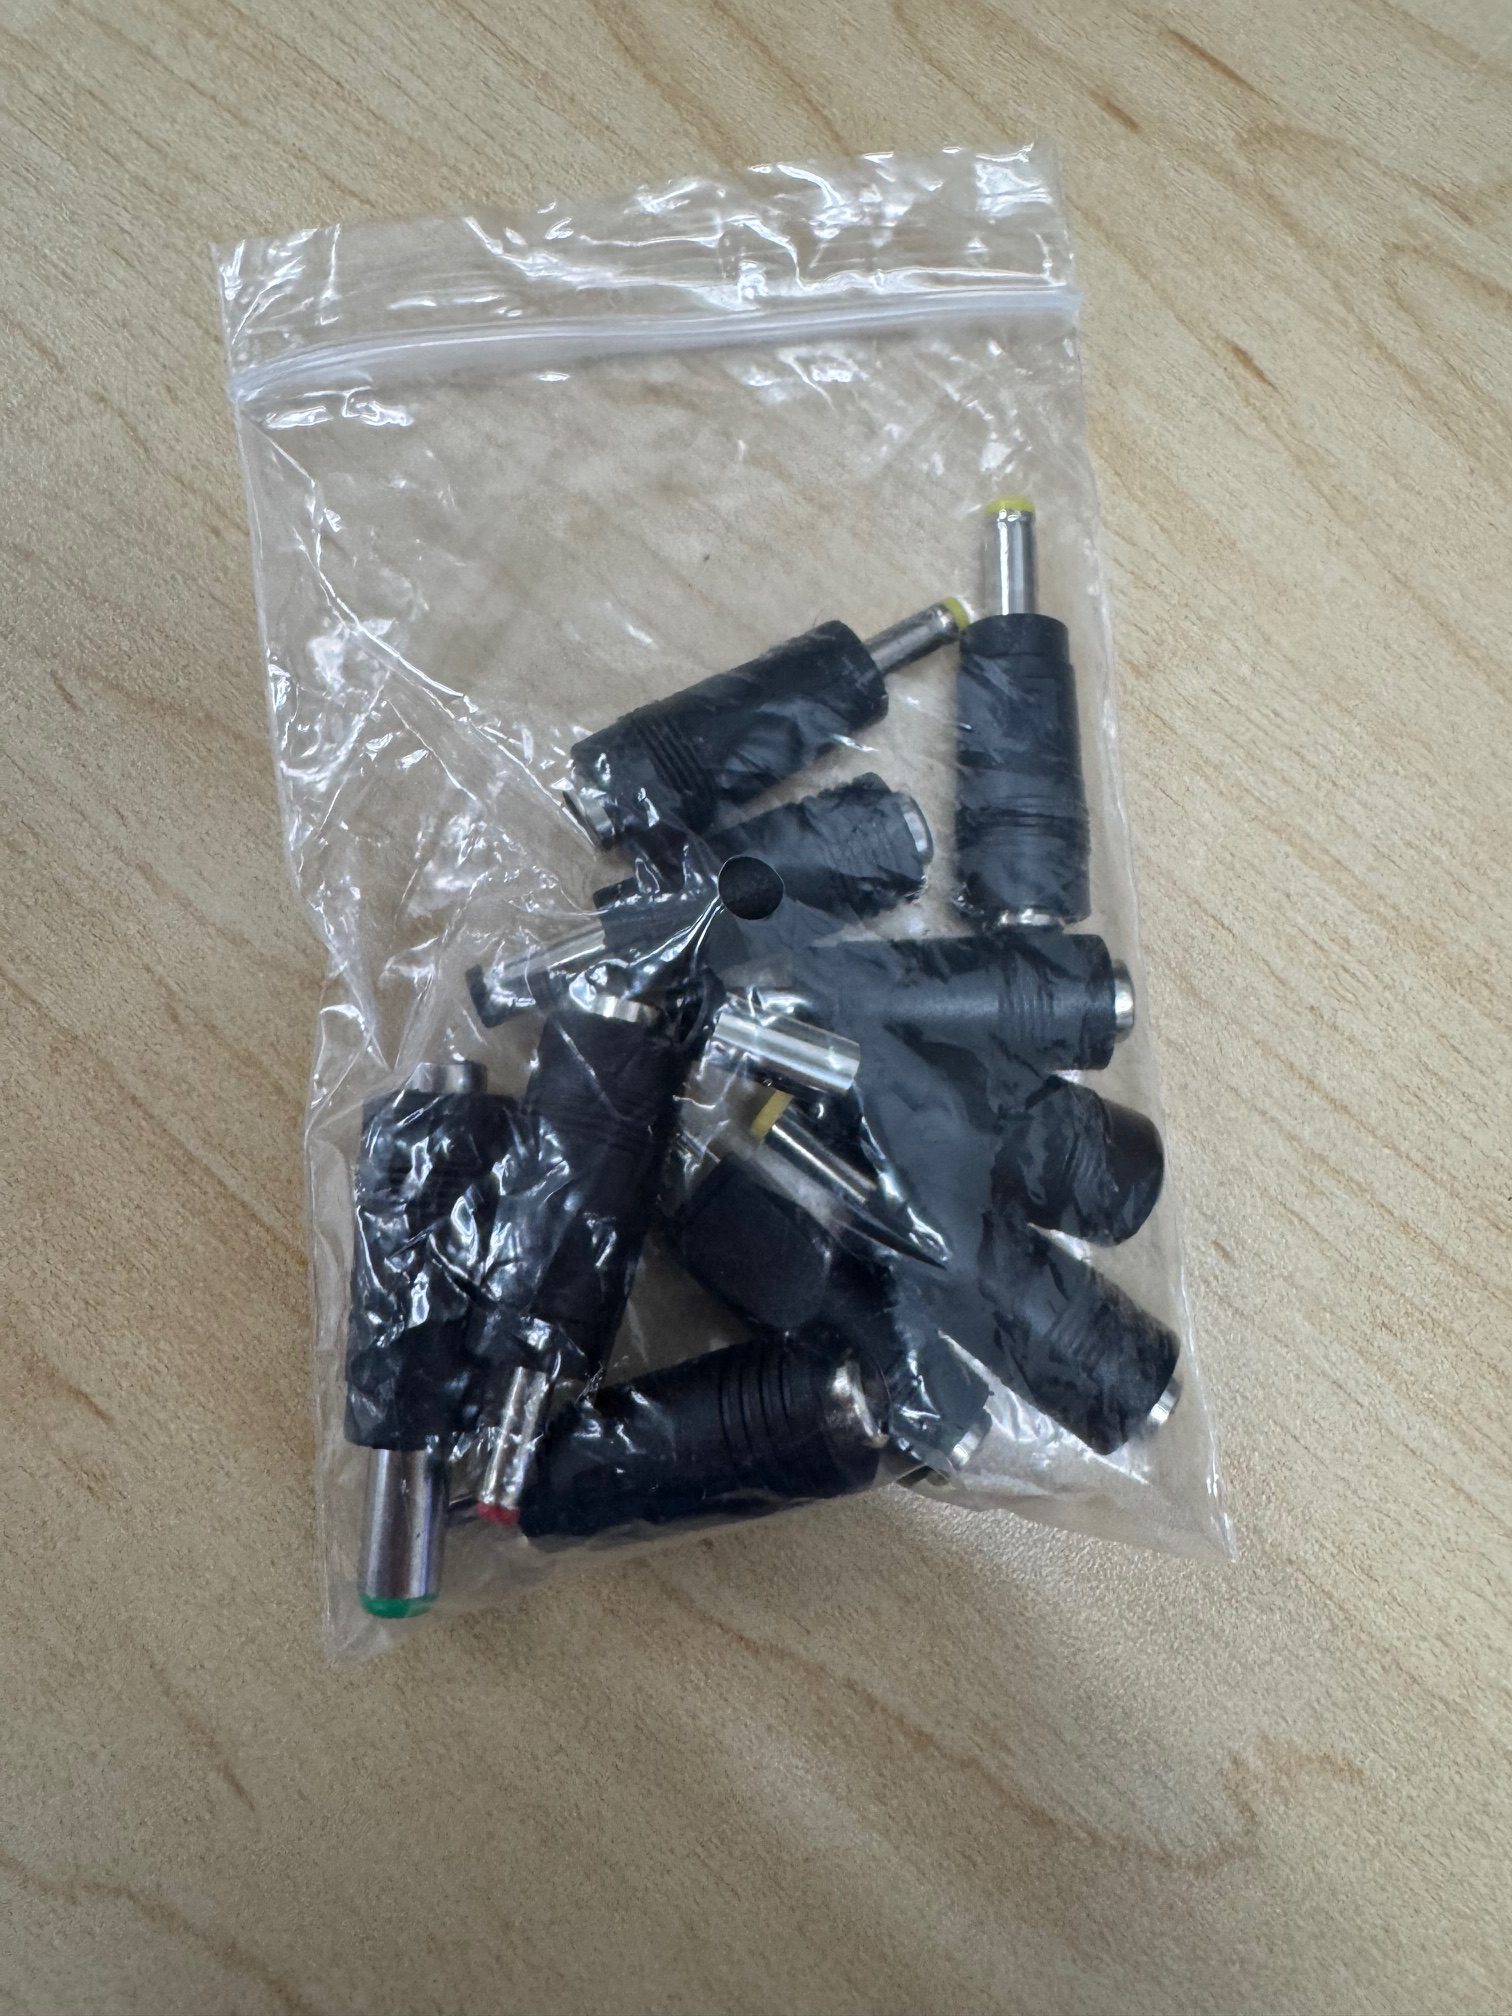
From the bag that came with the adapter, grab the key and plug pictured below:

Use the key to turn the adapter to 7.5V.

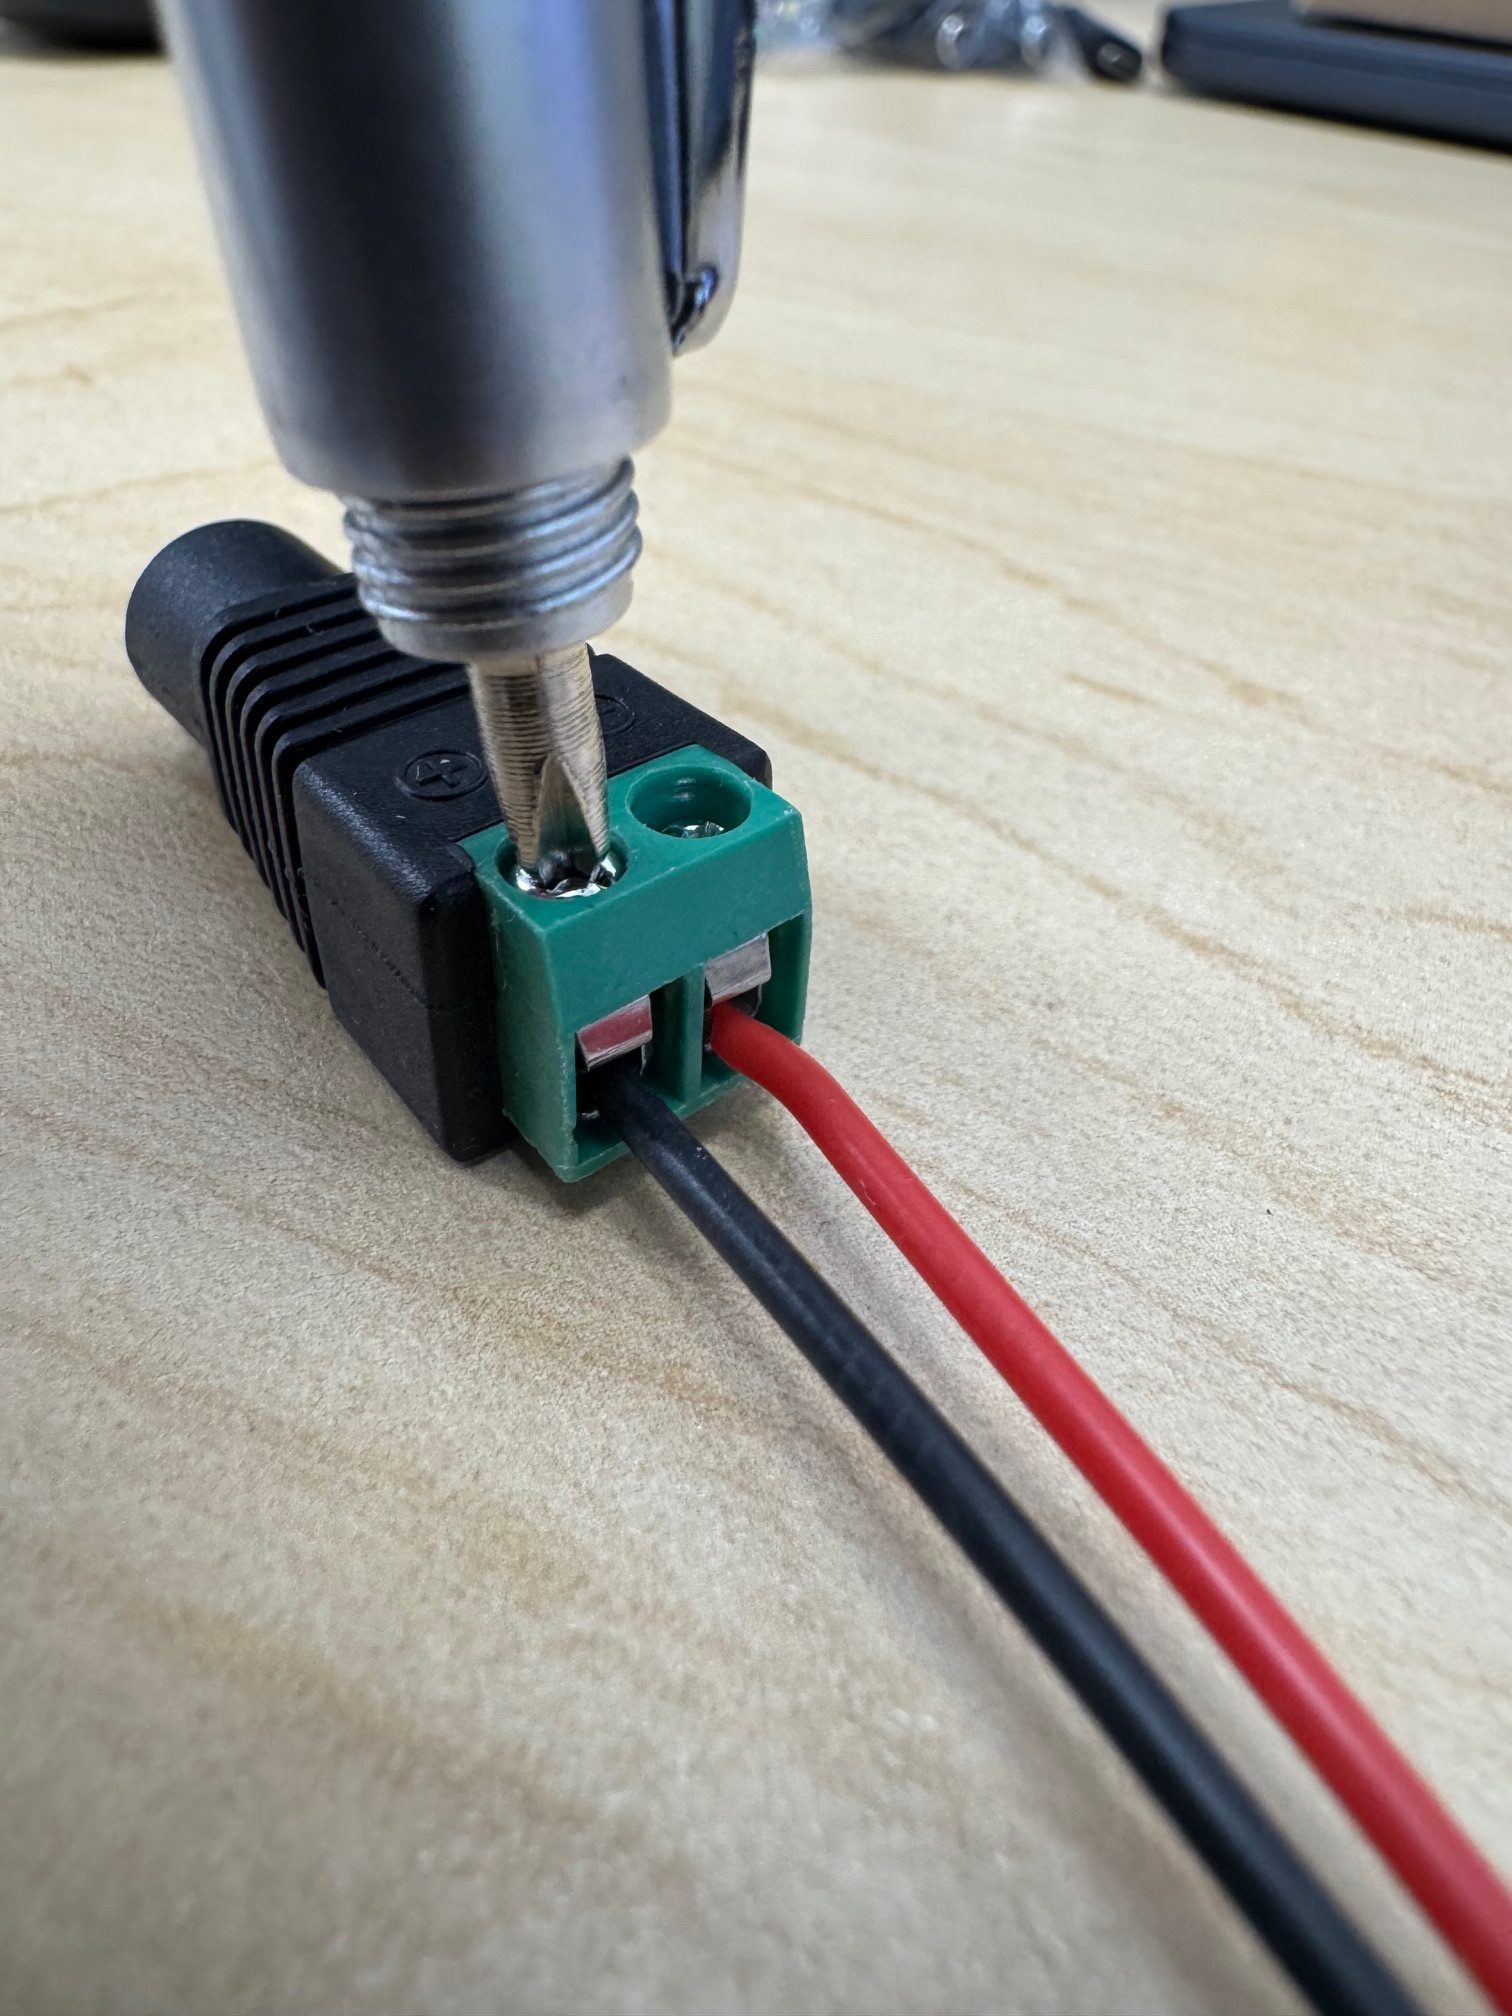
Use a Phillips head screwdriver to loosen the screws on the plug.
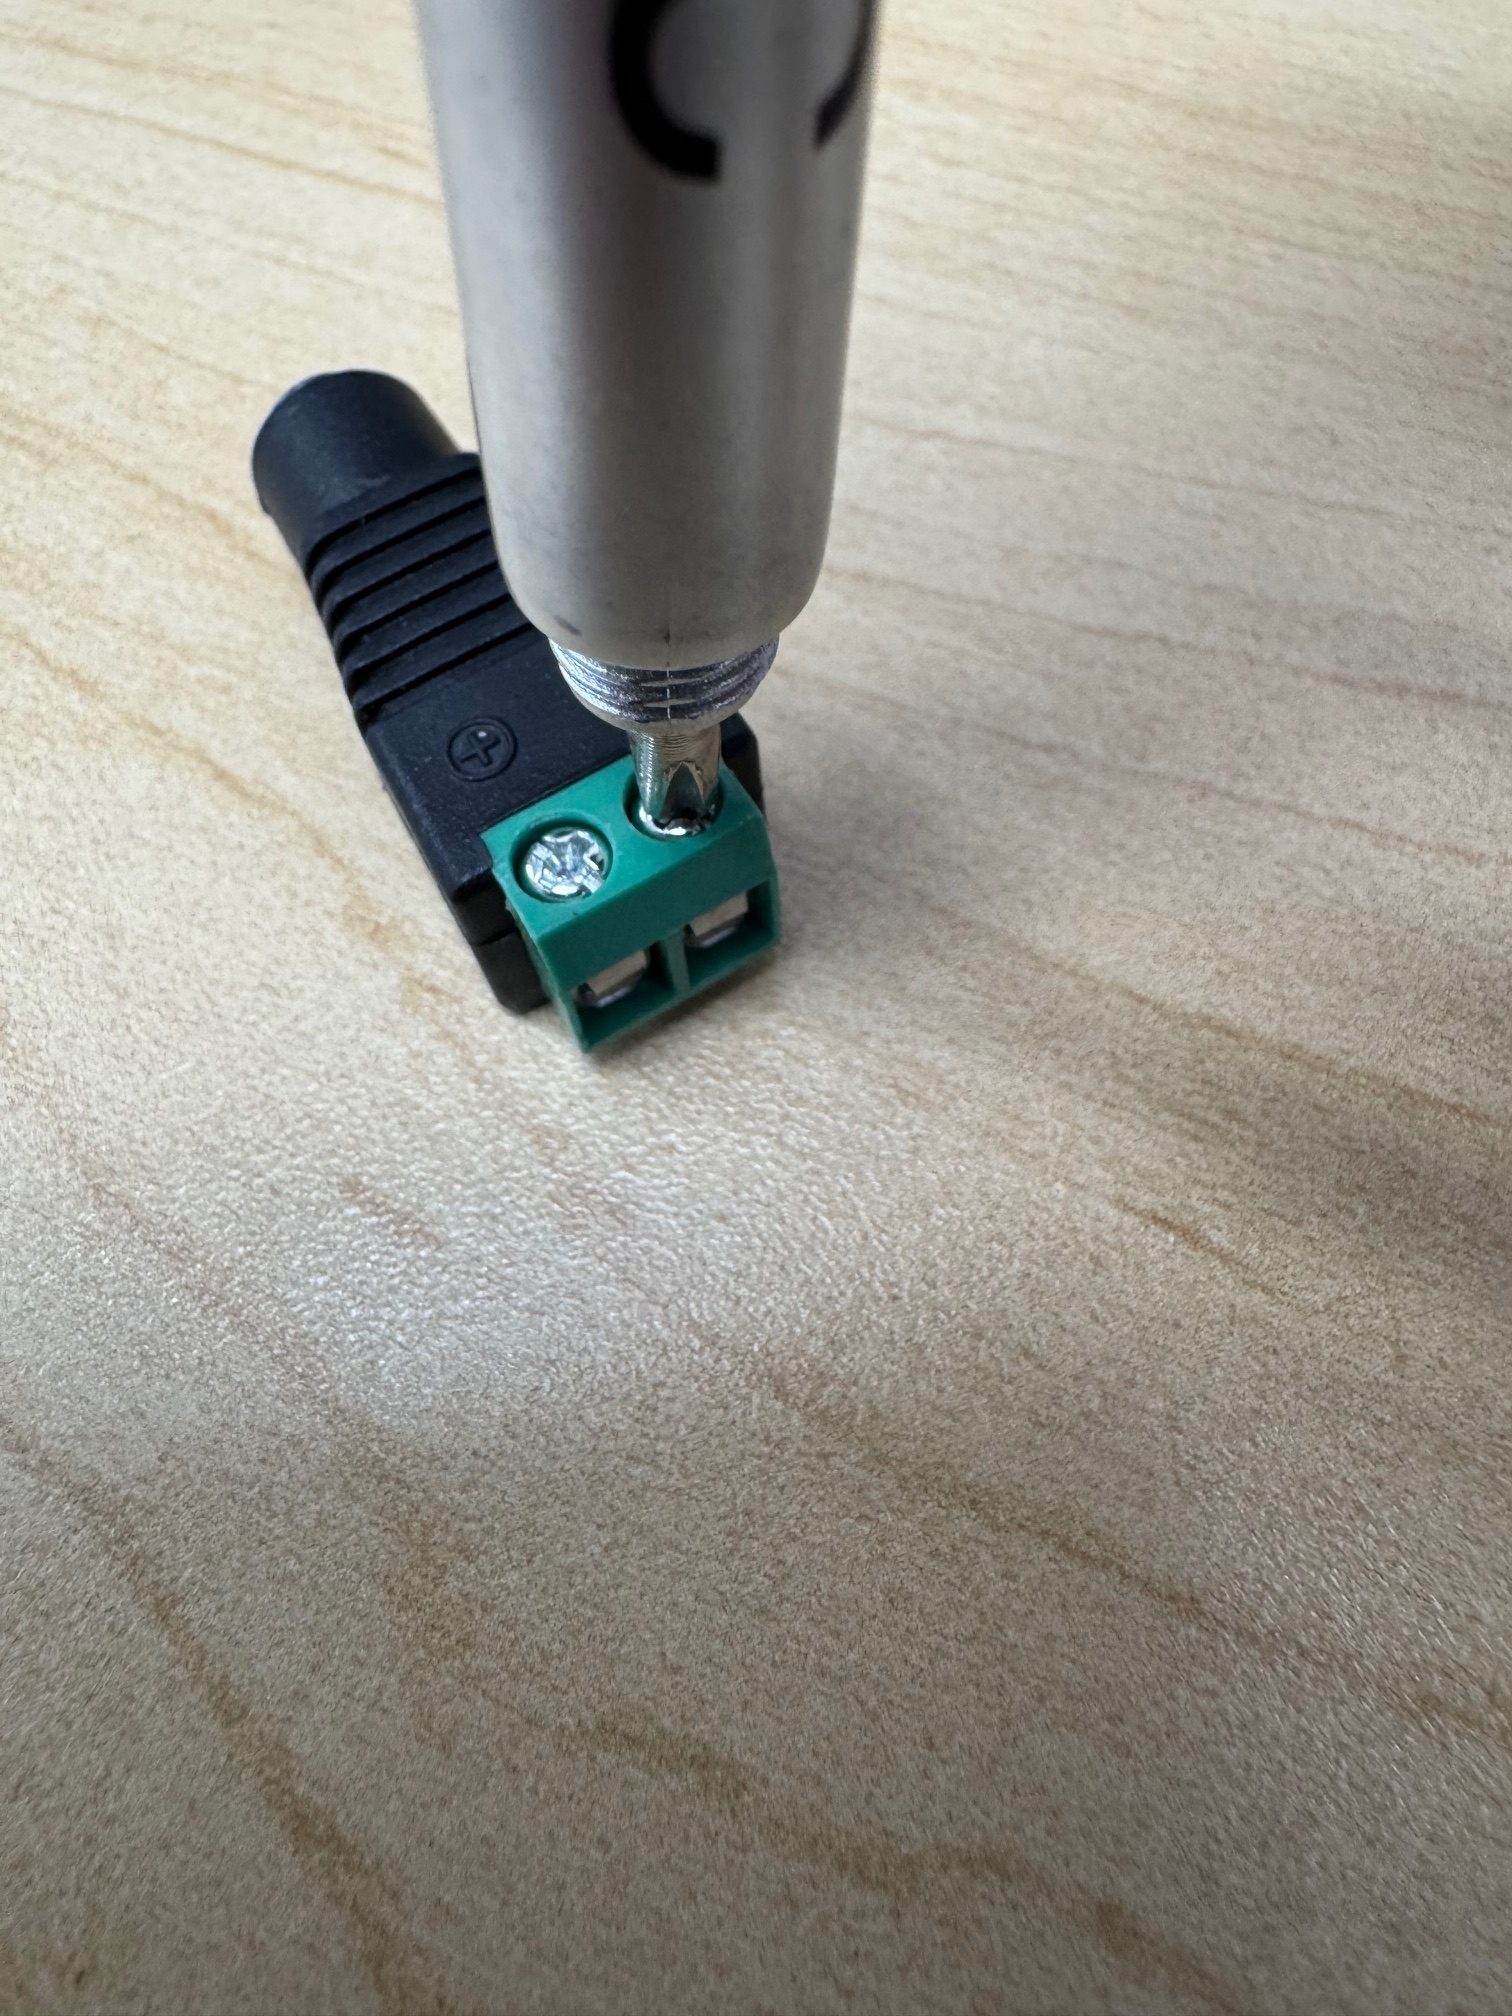
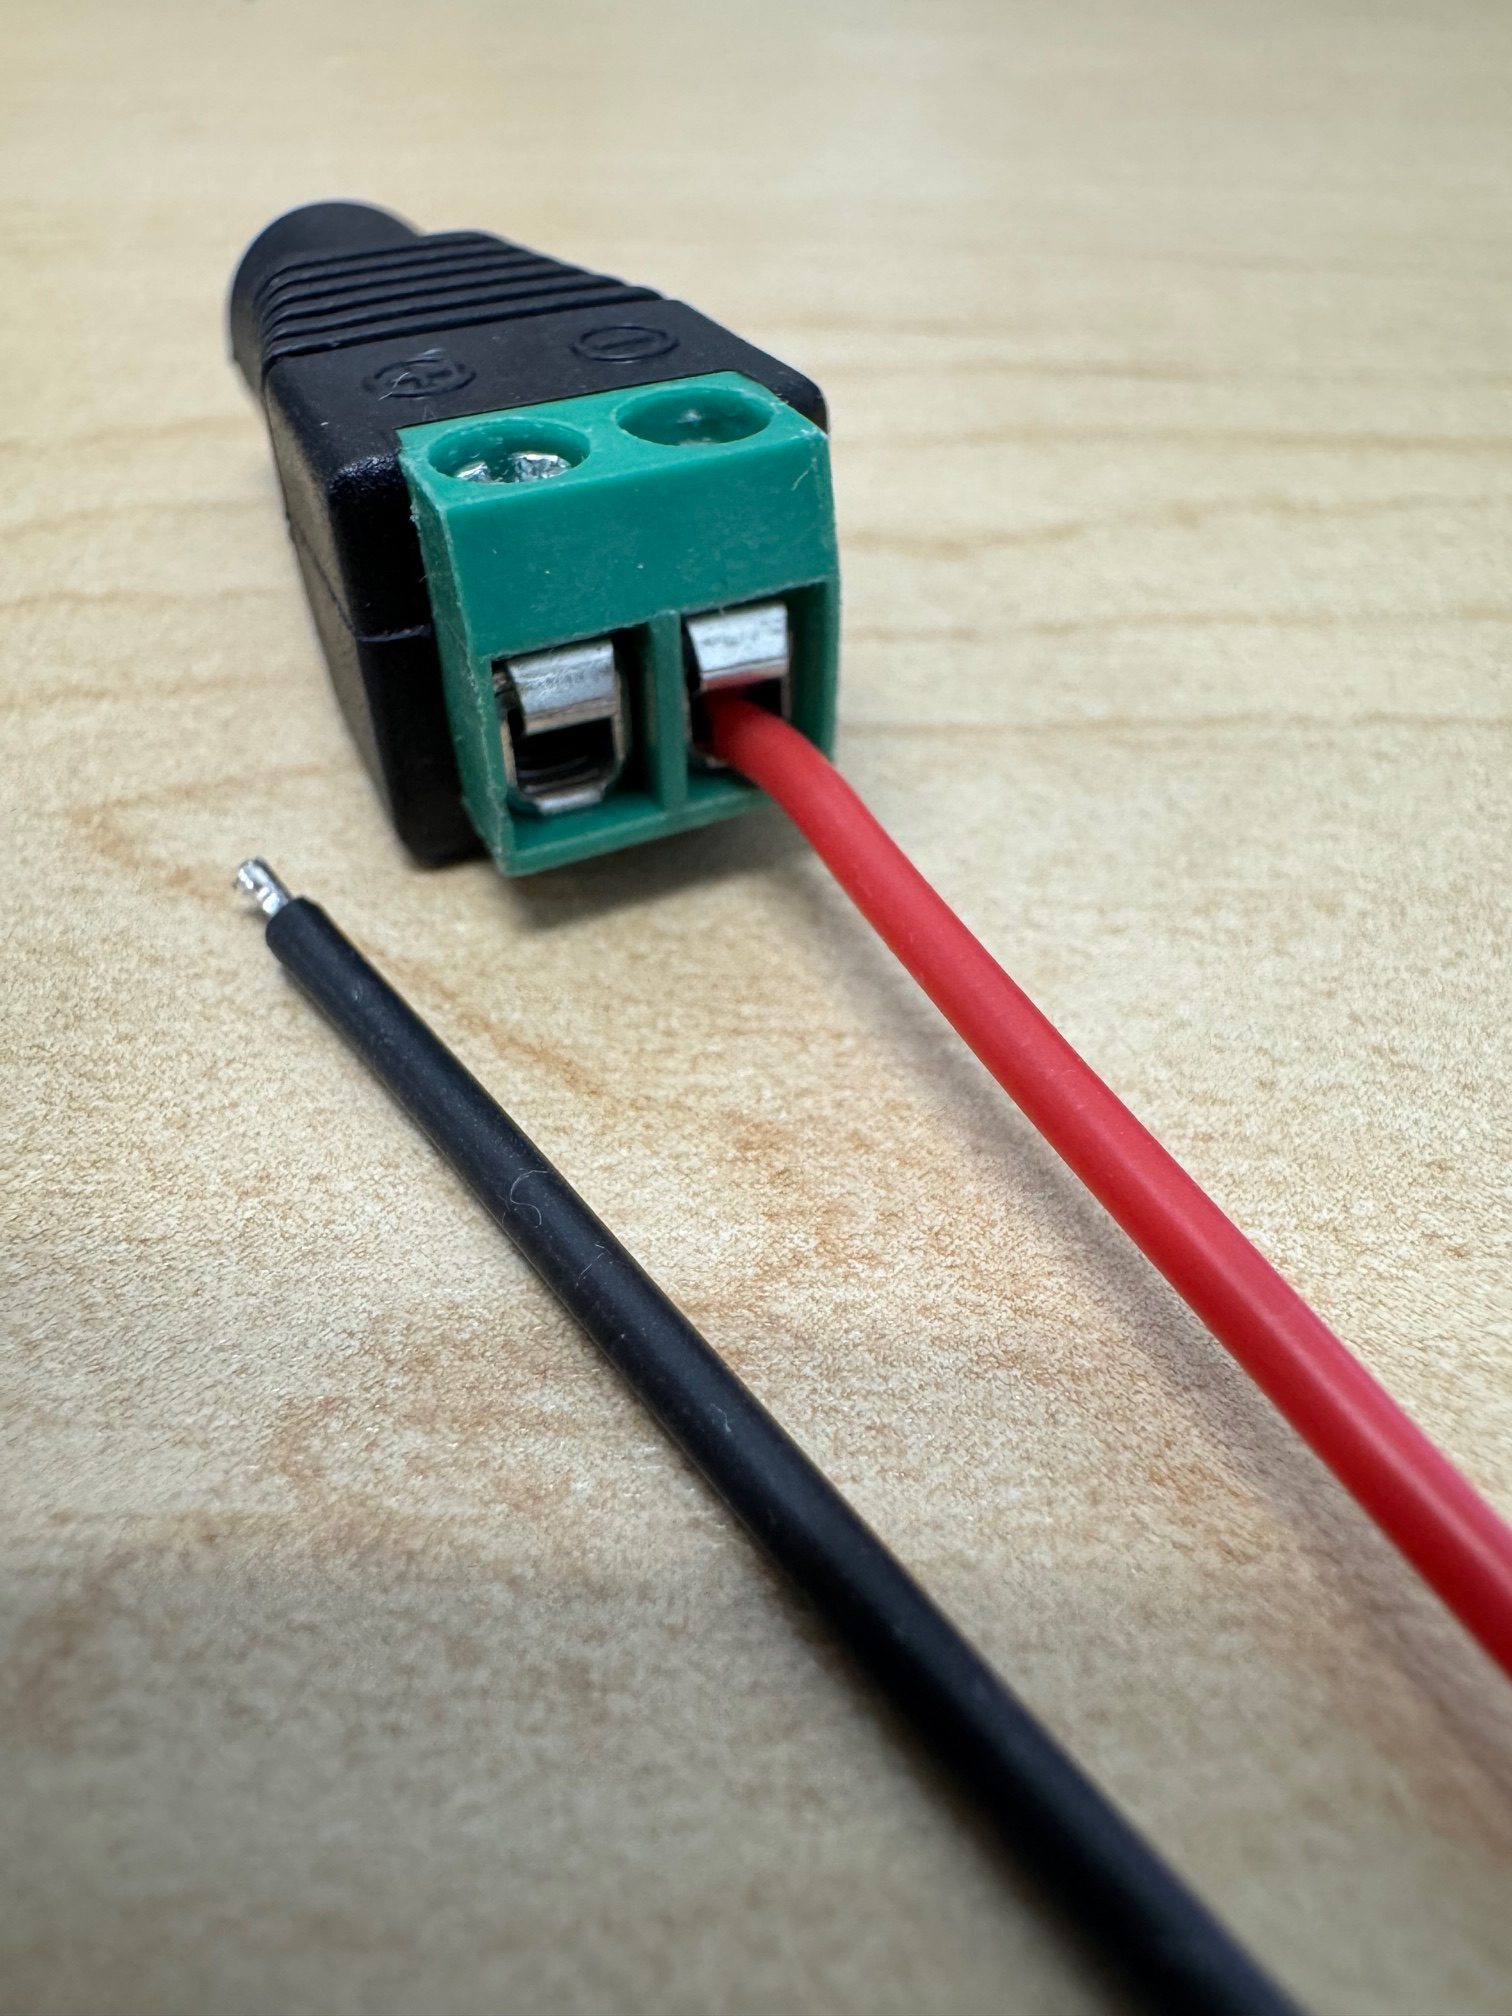
Insert the metal tip of the red wire into negative (-). If the tip is too short, casing can be removed with fingernails or a wire stripper.
Tighten the negative (-) screw.
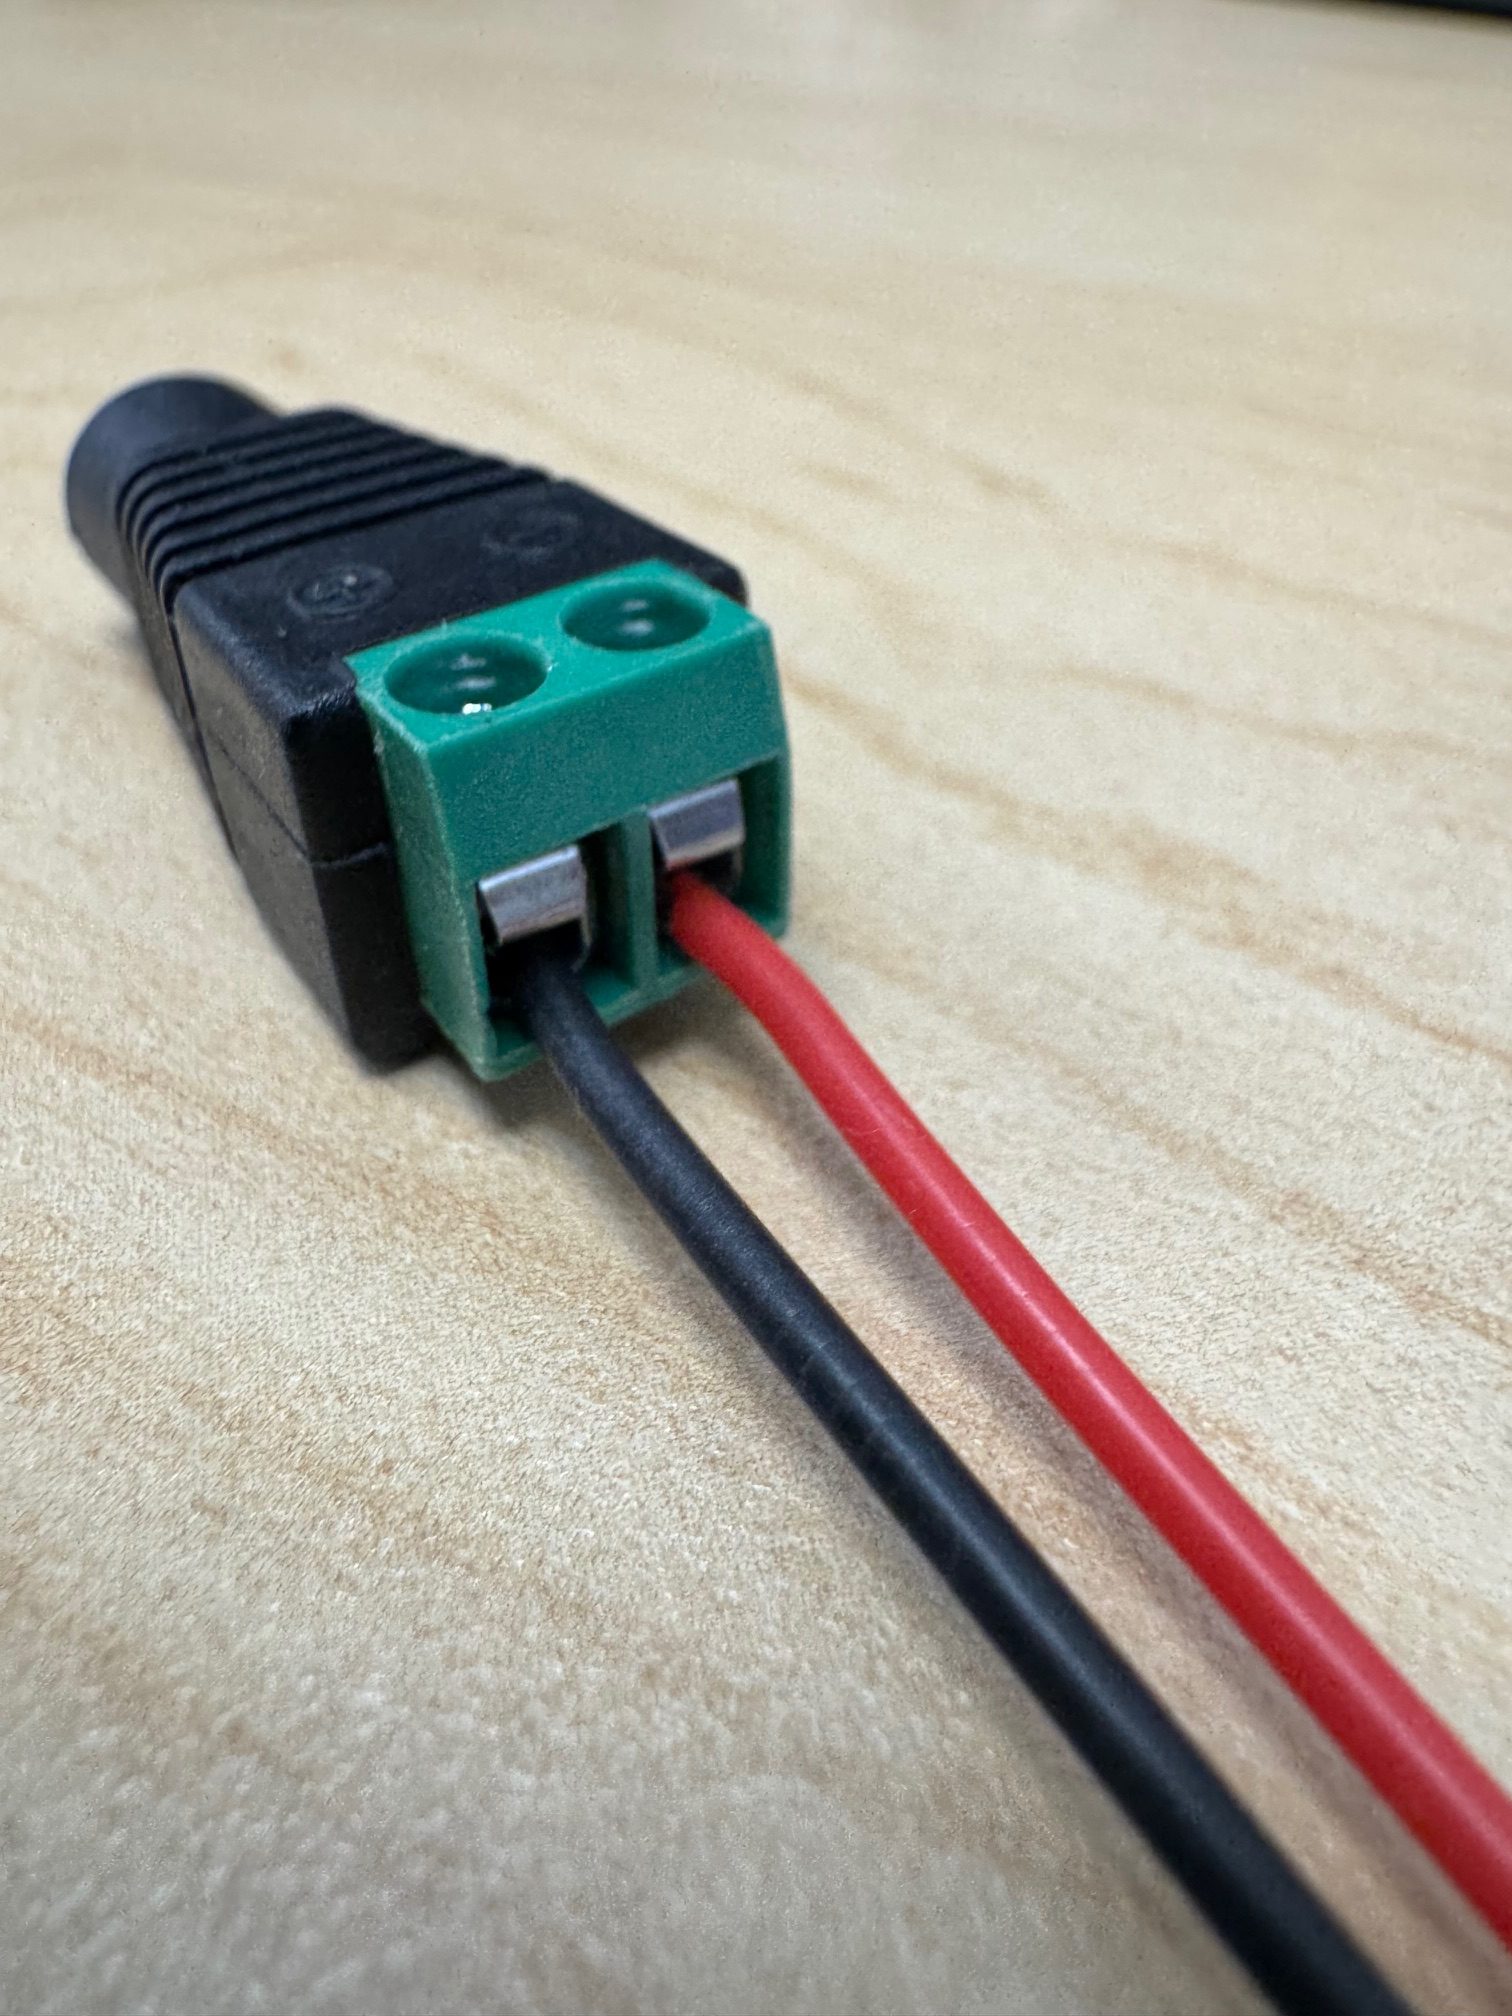
Now, insert the black wire into the positive (+) hole and tighten the screw.
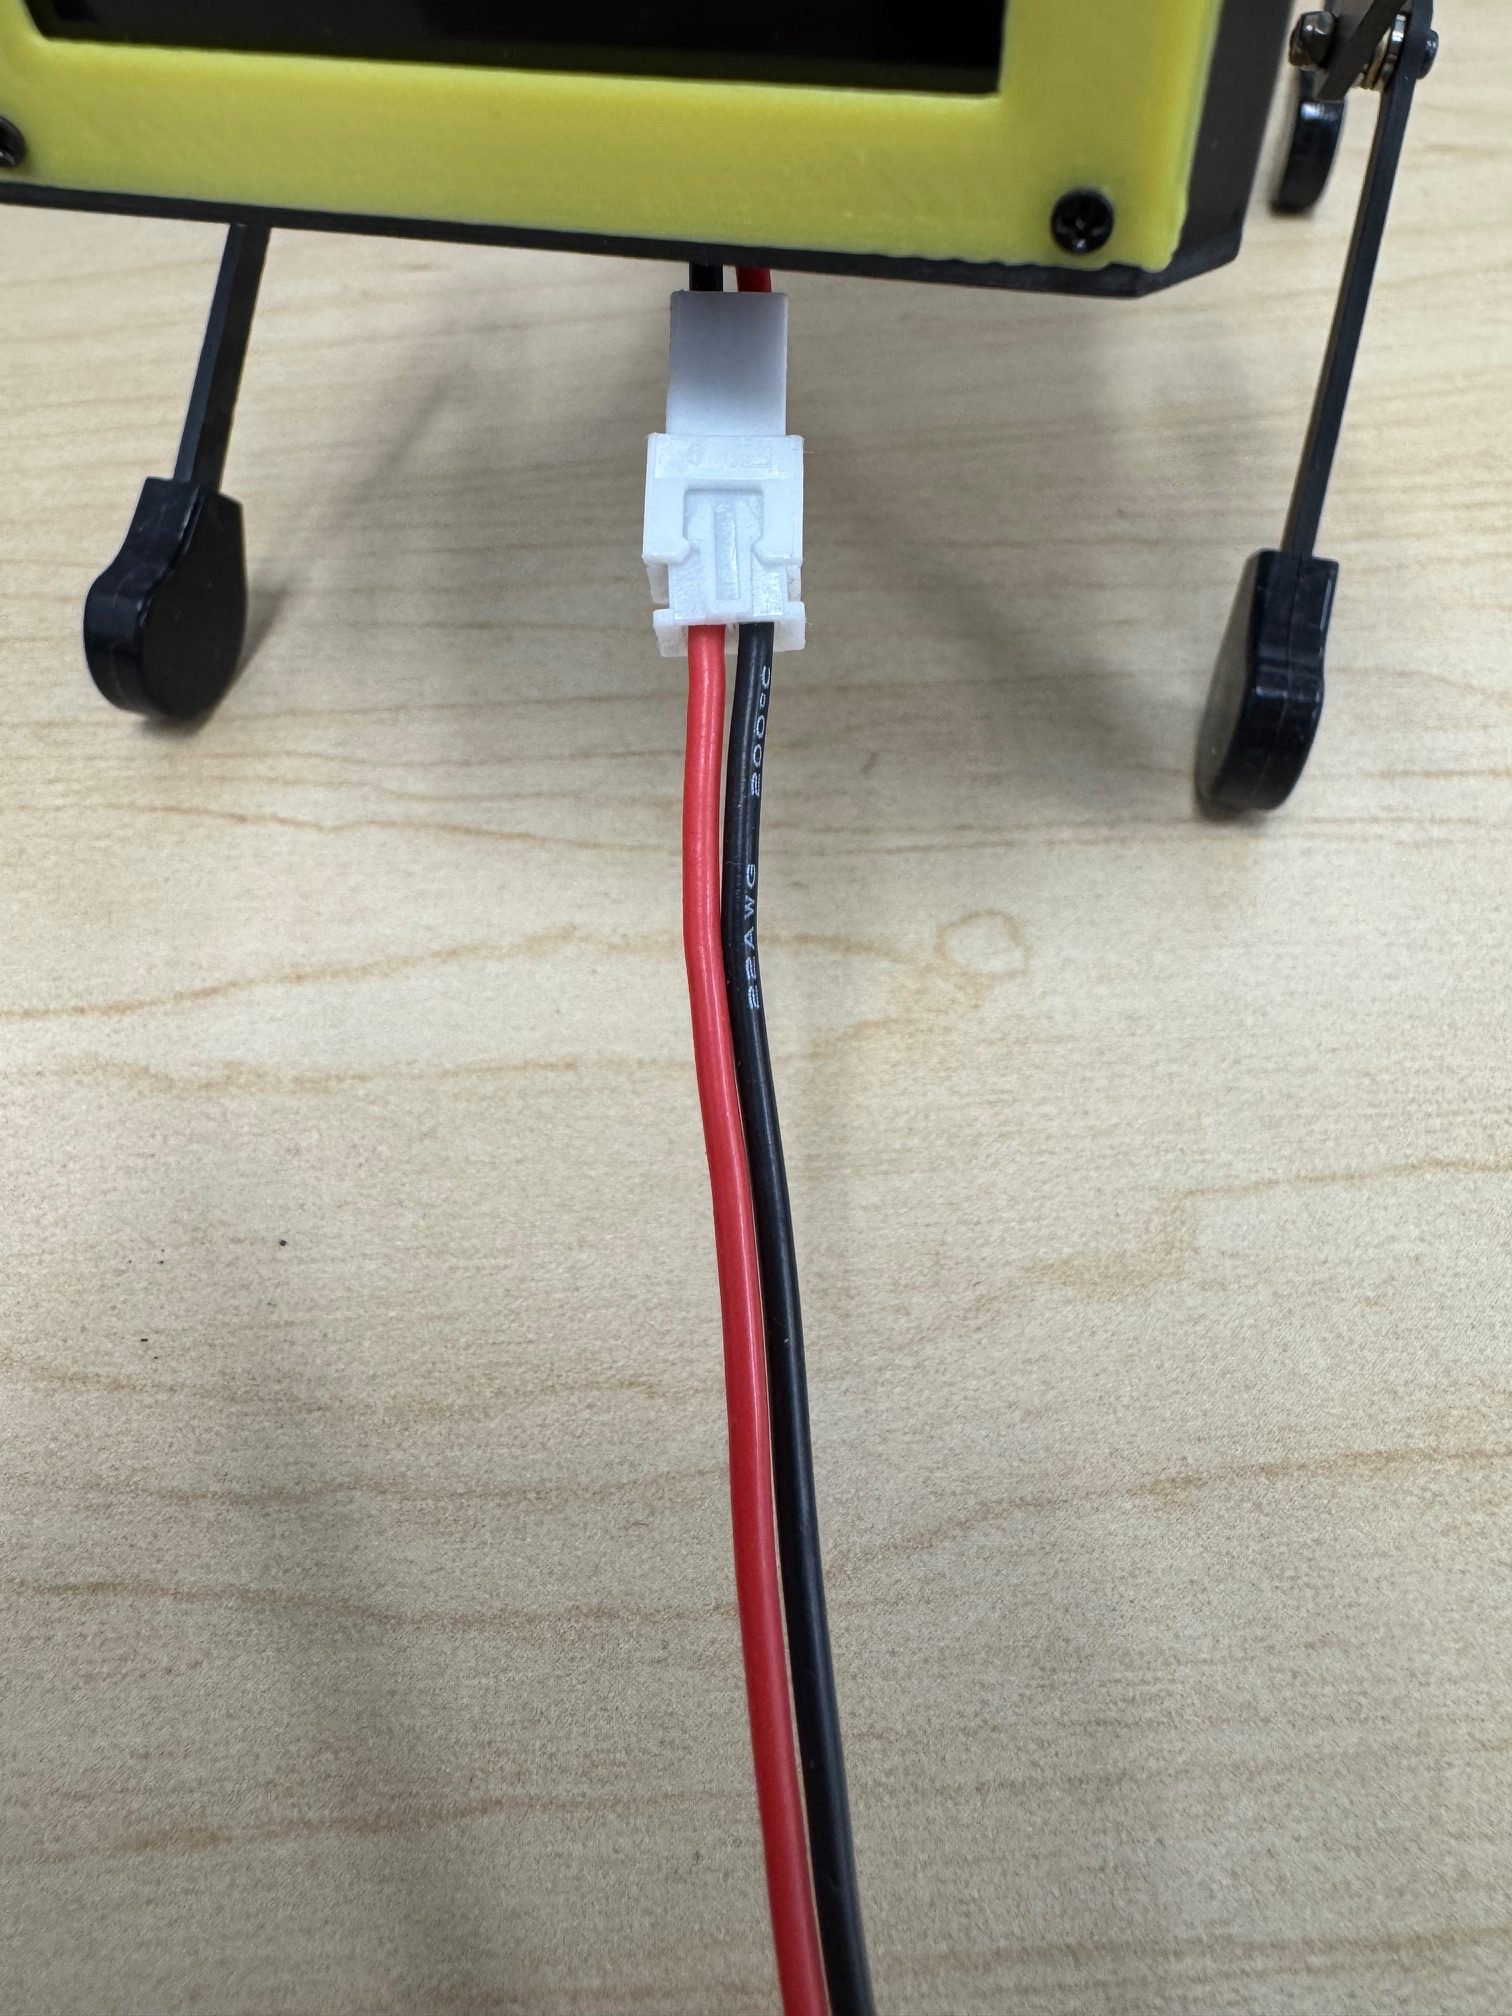
Plug the white tip of the cable into the MiniPupper as shown:
Camera Ribbon Cable Connection
Next Steps
After completing cable preparation:
- Hardware Setup - Mount camera and fan brackets
- Setup Mini Pupper - Configure software
- Jupyter Setup - Access web interface
- Test Camera - Verify camera works