AWS Setup Guide for Digital Circuit Design
Overview
This guide covers:
- Set up Cloud9 development environment
- Install necessary tools (Quartus, ModelSim)
- Access remote desktop using DCV
AWS Console Management
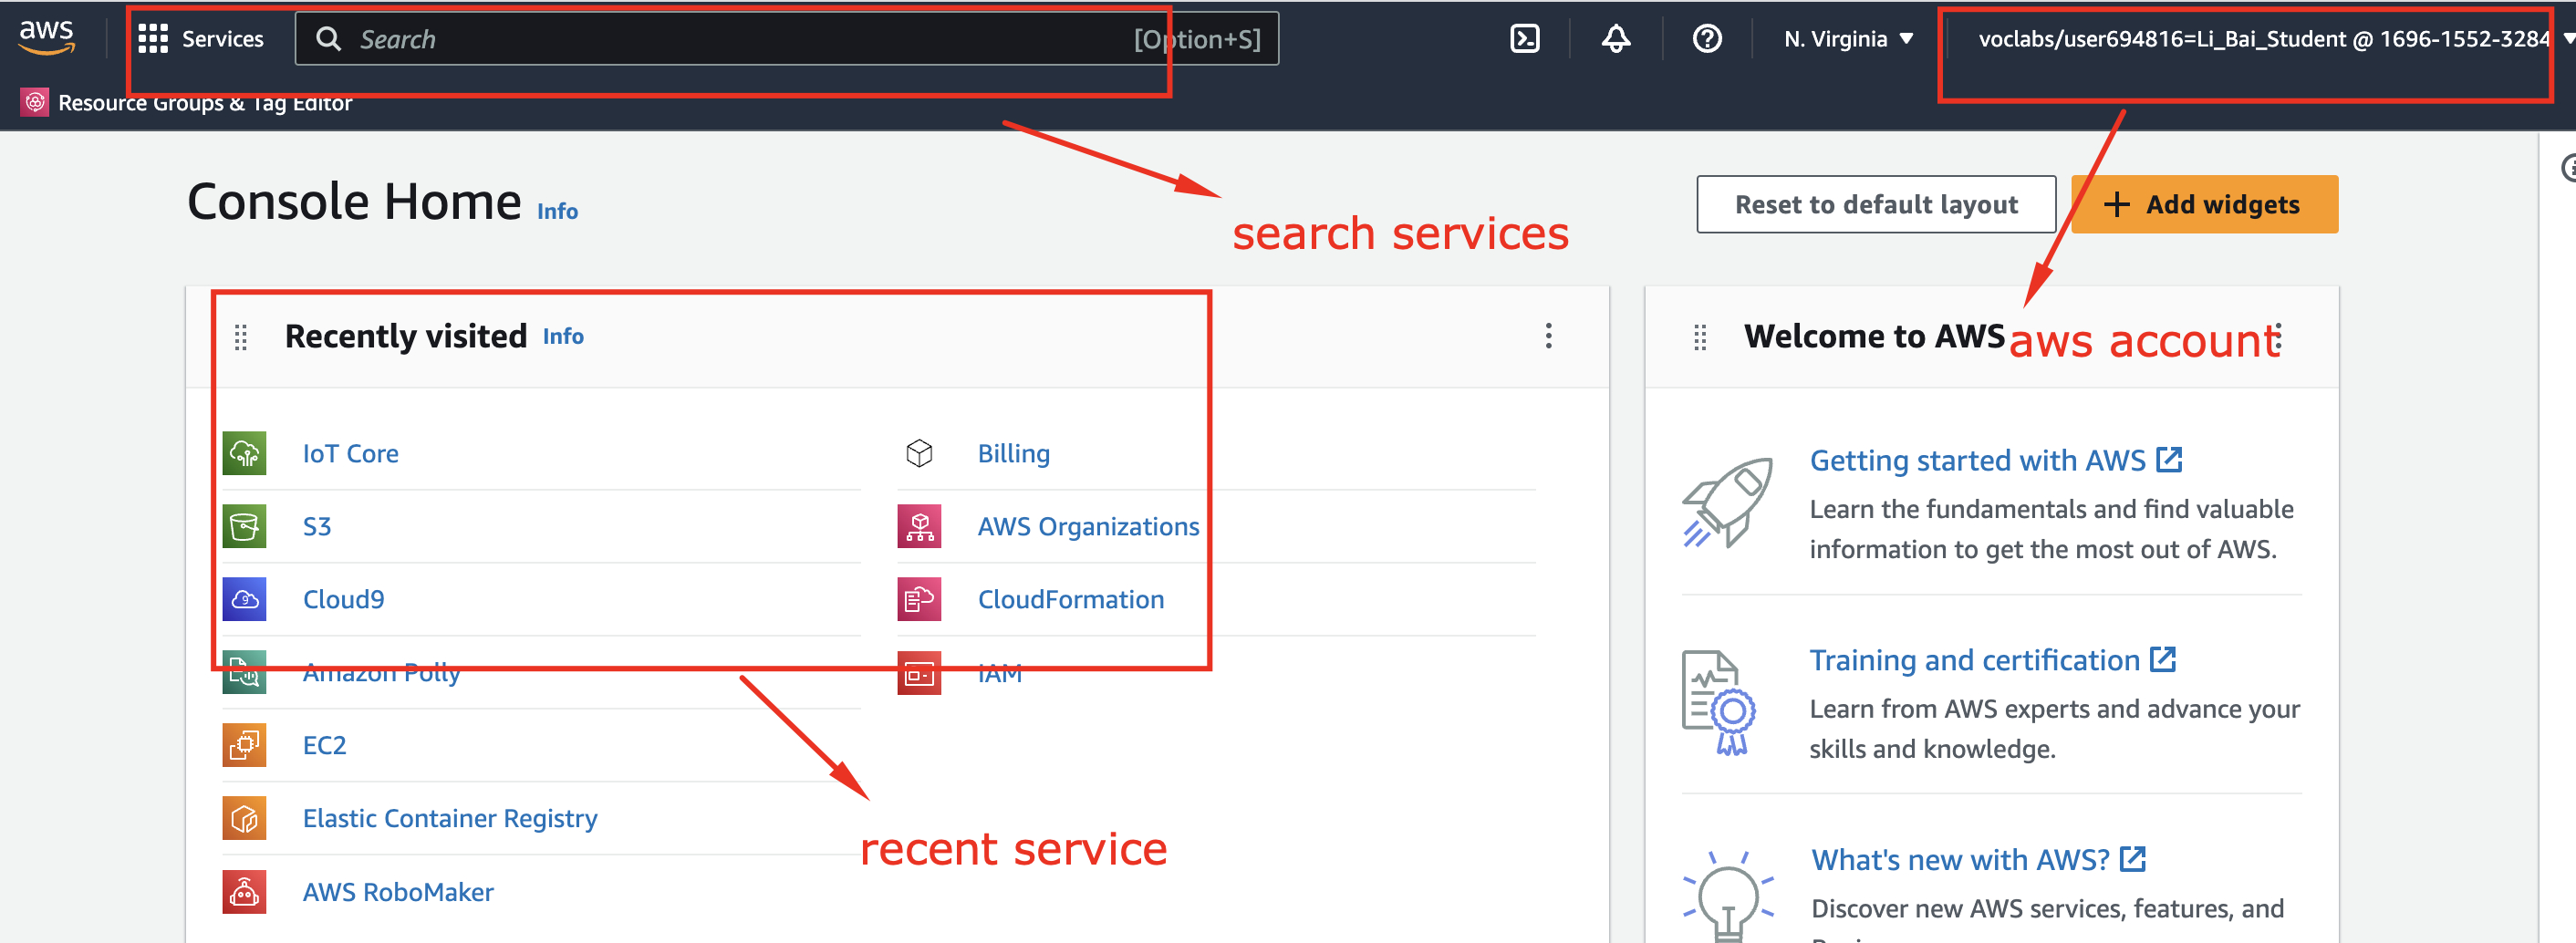
Figure: AWS Management Console
The AWS Management Console provides:
- Search for services
- Recent services quick access
- Account/role information
Note: The remote desktop using NICE DCV can be fragile in Firefox, Safari and Edge - please use Google Chrome.
Key services we’ll use:
- Cloud9 - Virtual development instance
- IAM - User management, roles, policies
- S3 - Simple Storage Service
AWS Academy Account Setup
If You Don’t Have an Account
- Check for an email from AWS Academy in your Temple email
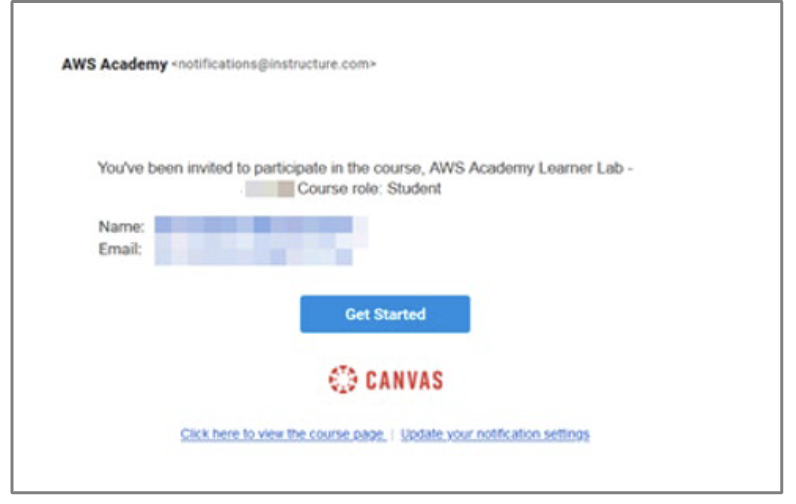
Figure: AWS Academy invitation email
- Follow the instructions to setup an account (this is different from your University account)
- Download the AWS Setup PDF Guide for detailed steps
If You Already Have an Account
- Access the AWS Academy Canvas Console
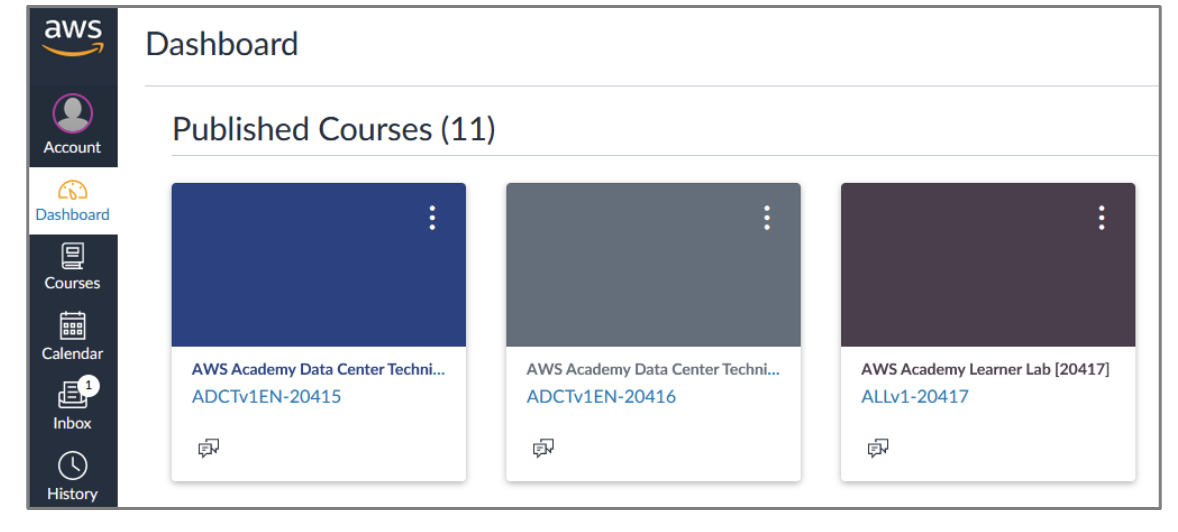
Figure: AWS Academy Canvas Console
- You can rename your course nickname by clicking on ⋮ on the course tile
Setting Up AWS Cloud9
Requirements for Instance Setup
Important: You need to create an EC2 instance
- Click Create environment

Figure: Create Cloud9 environment
- Select New EC2 instance
- Configure with these settings:
Select EC2 Instance Type
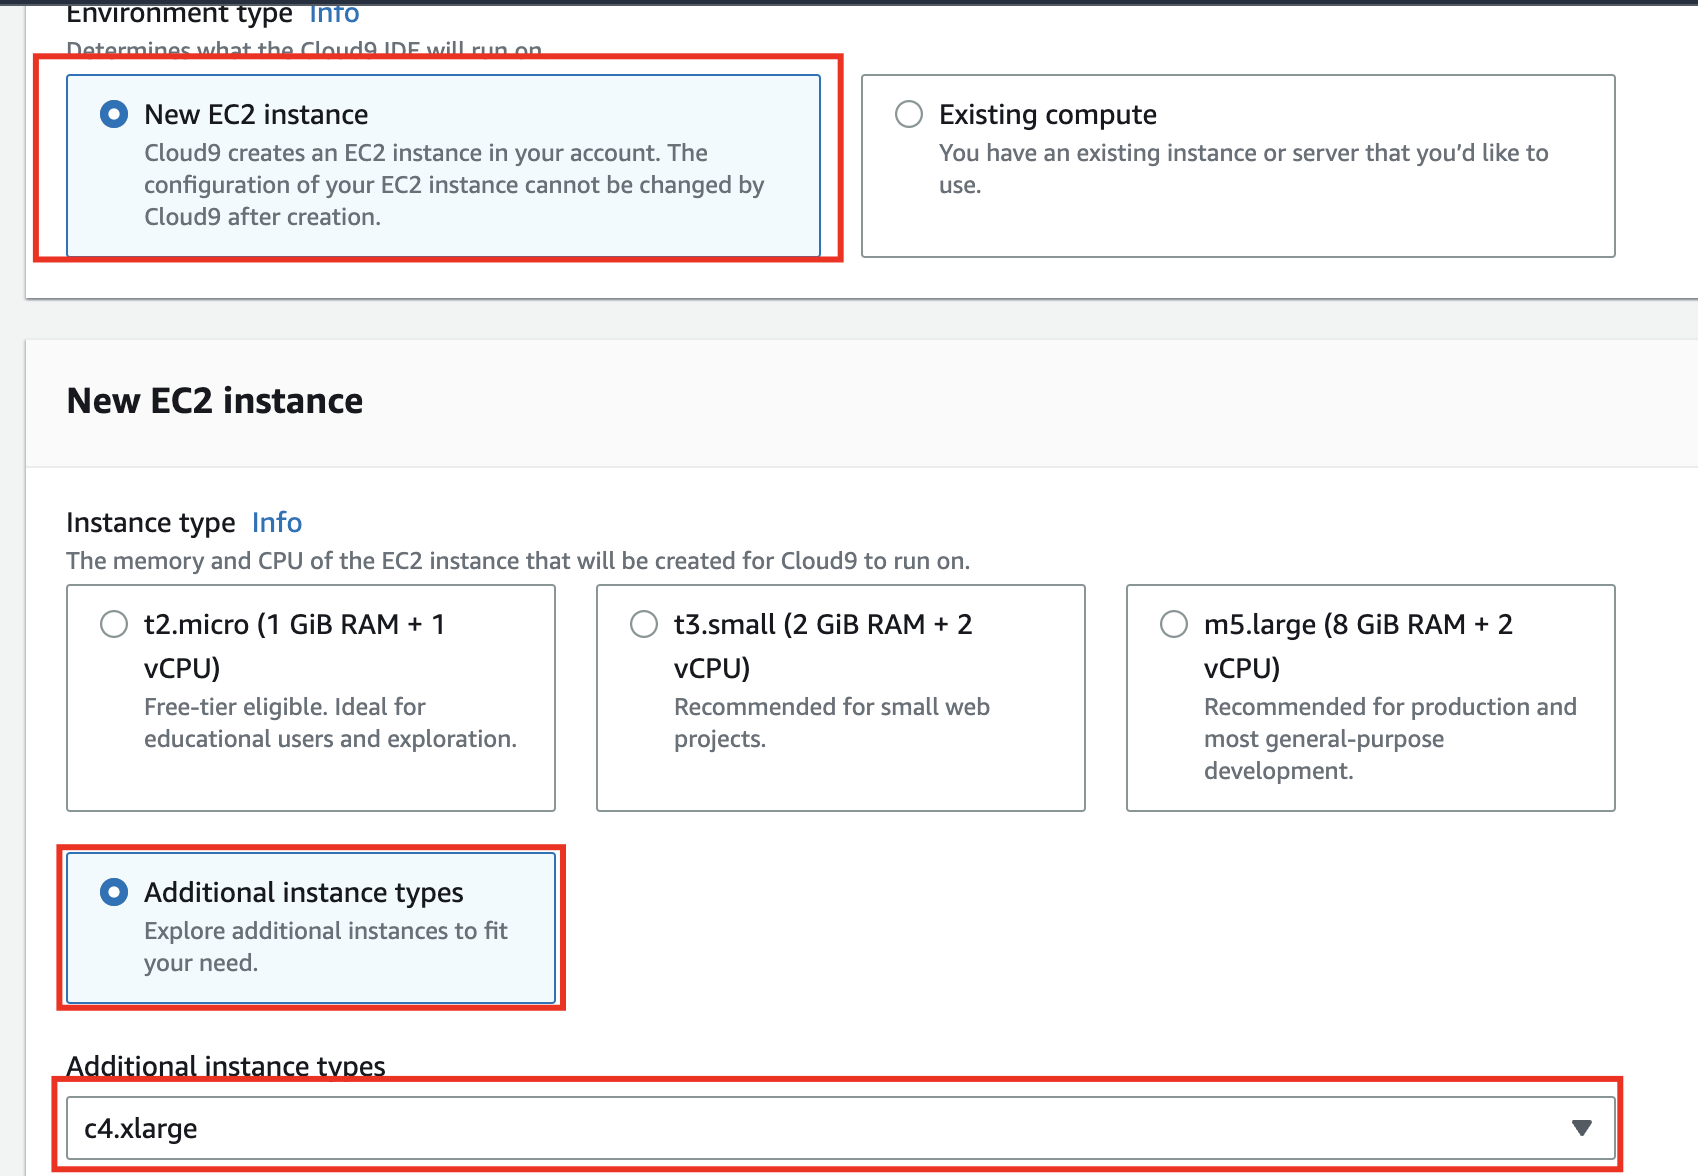
Figure: Cloud9 EC2 instance type selection
| Setting | Value |
|---|---|
| Instance type | c4.xlarge (7.5GB RAM, 4 vCPU) |
| Platform | Ubuntu Server 22.04 (Jammy) |
| Connection | Secure Shell (SSH) |
Select Operating System
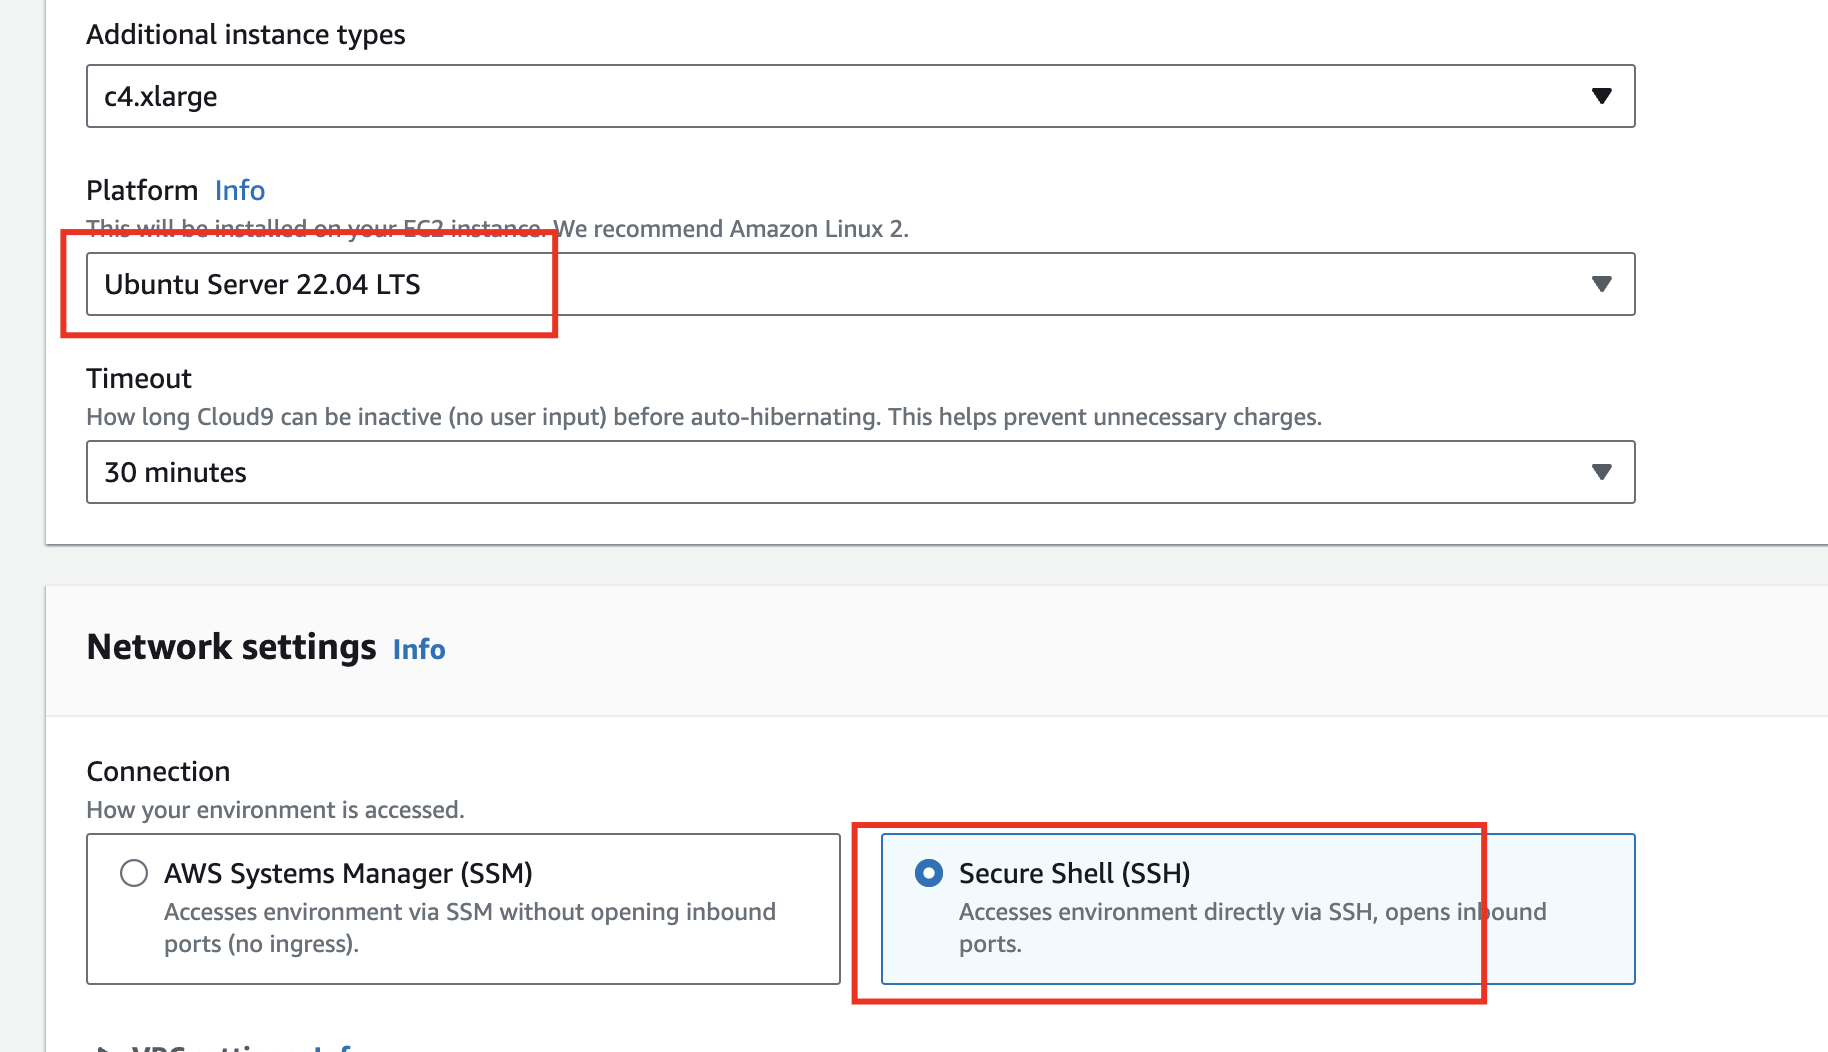
Figure: Cloud9 operating system selection
Create the Environment
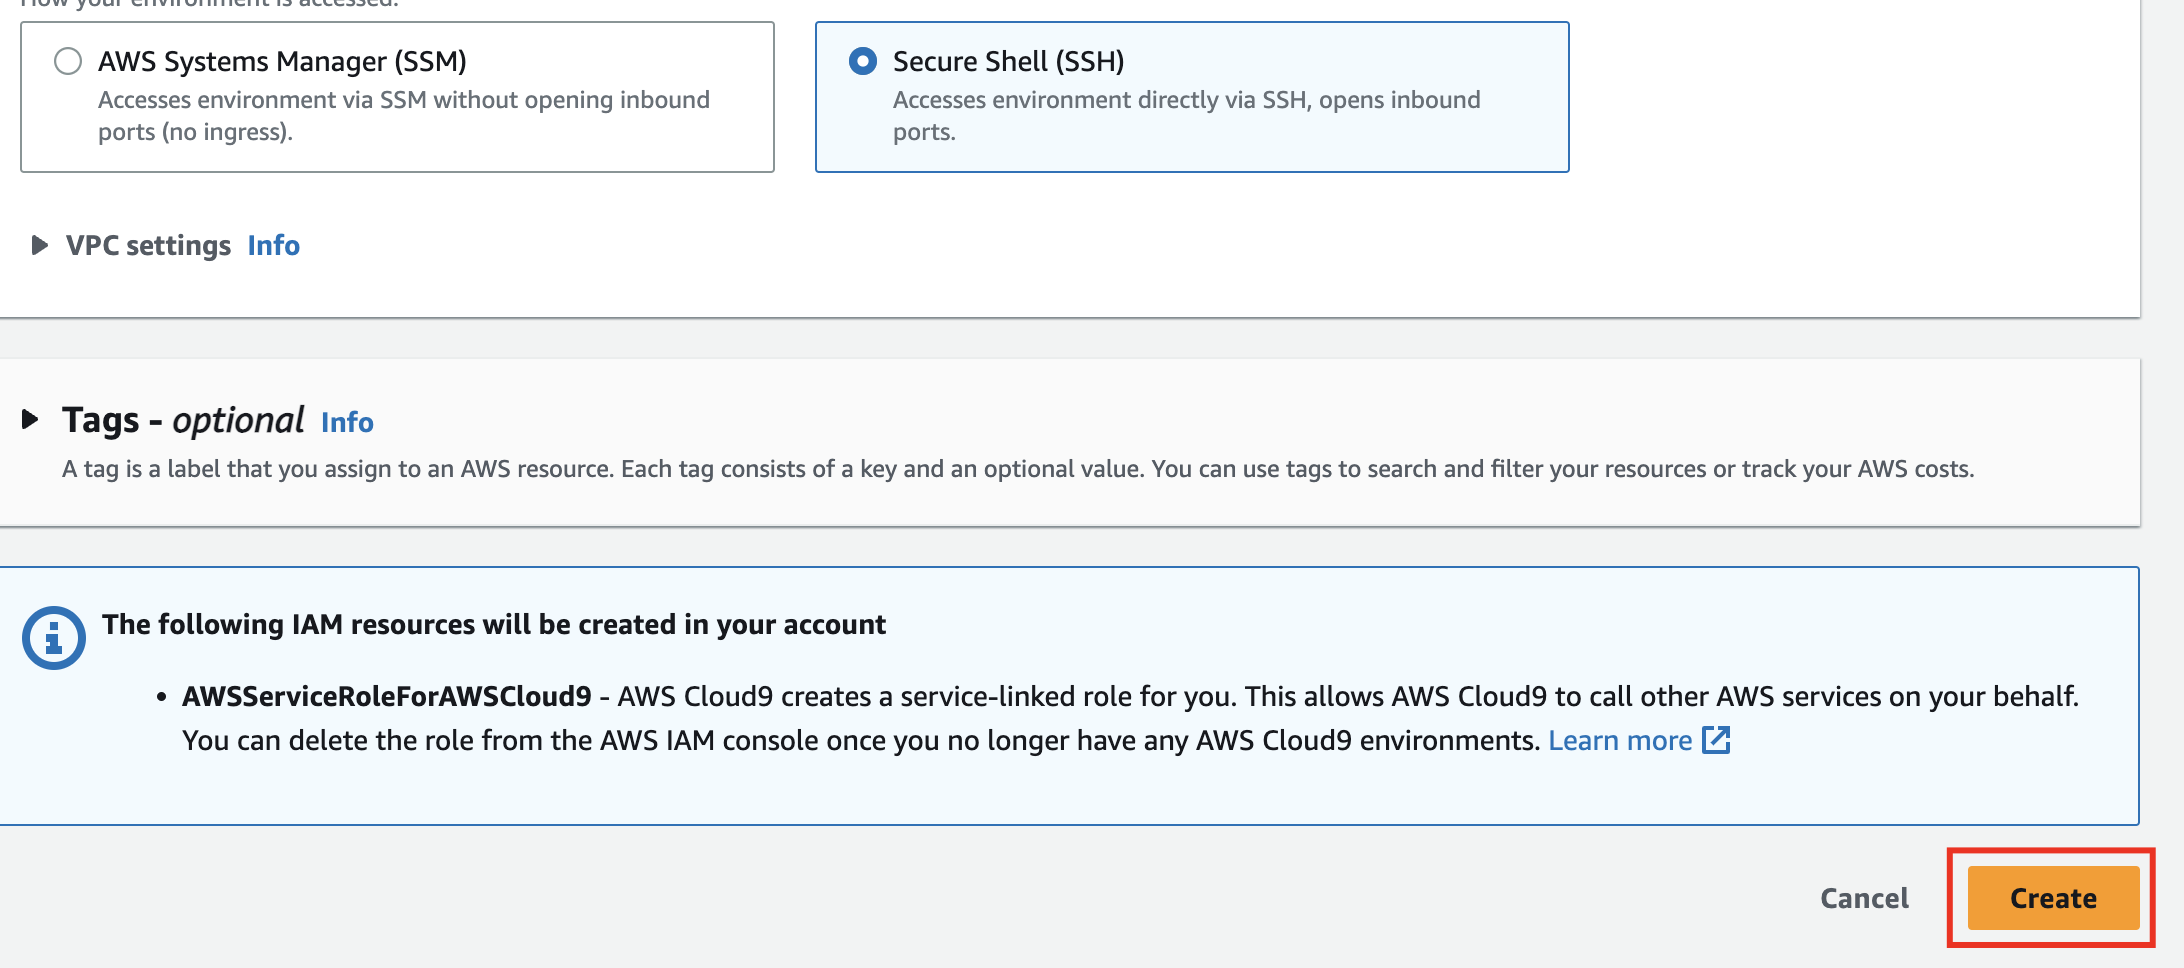
Figure: Create Cloud9 environment
- After configuring, click Create
- Wait for the environment to be provisioned
Open Cloud9
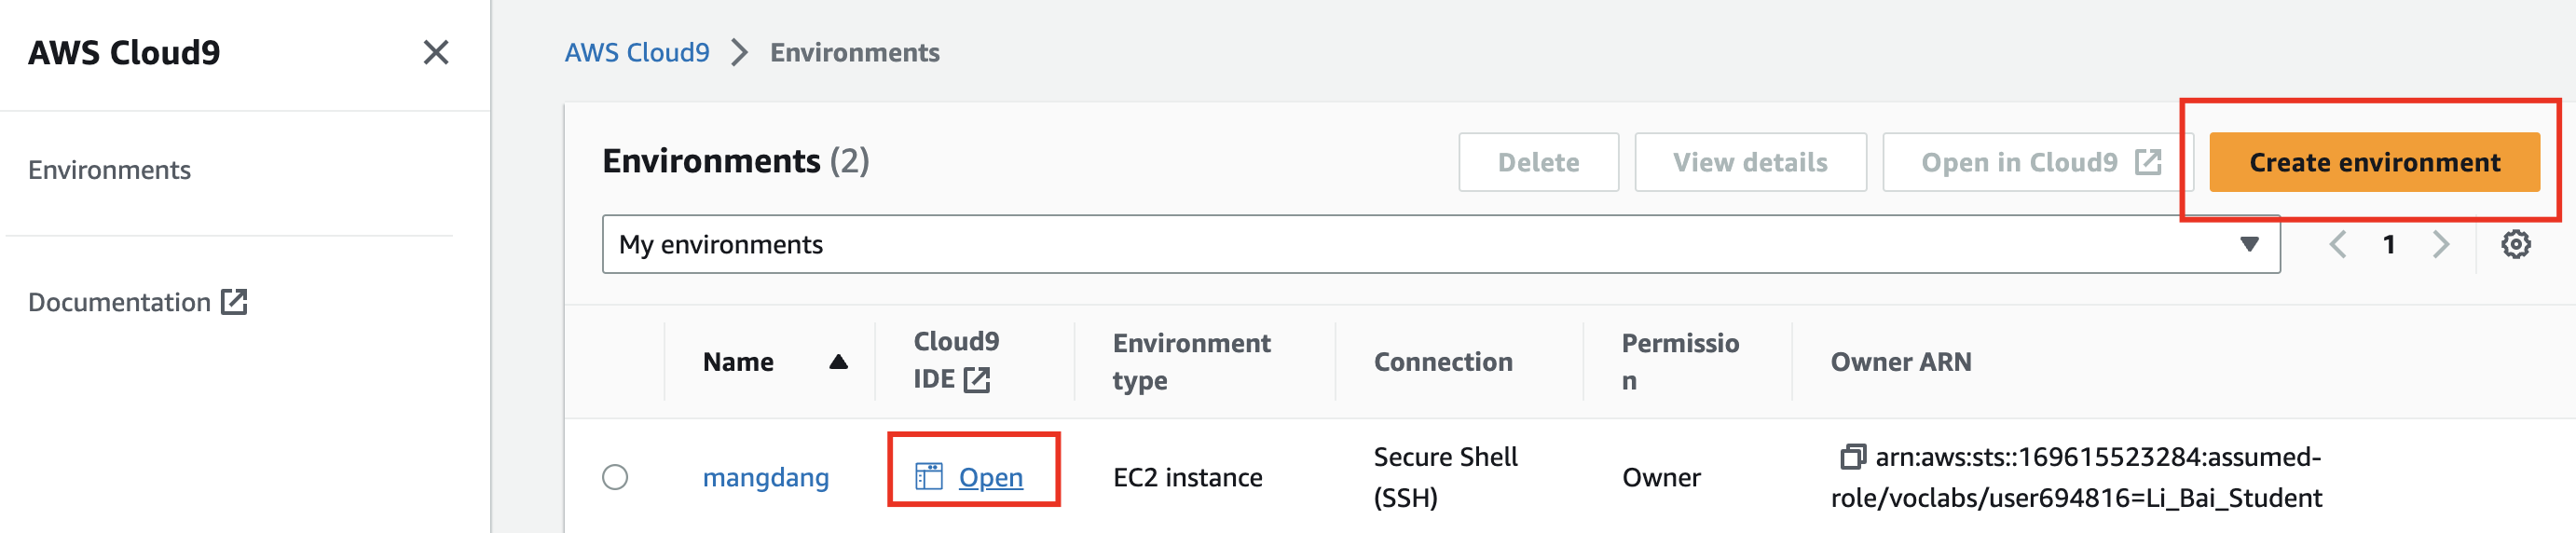
Figure: Open Cloud9 IDE
- Click Open to access your Cloud9 IDE
- You can add additional Cloud9 instances by clicking “Create environment”
Warning: Don’t create too many instances - they all run when you start the lab and consume resources!
Cloud9 IDE Overview
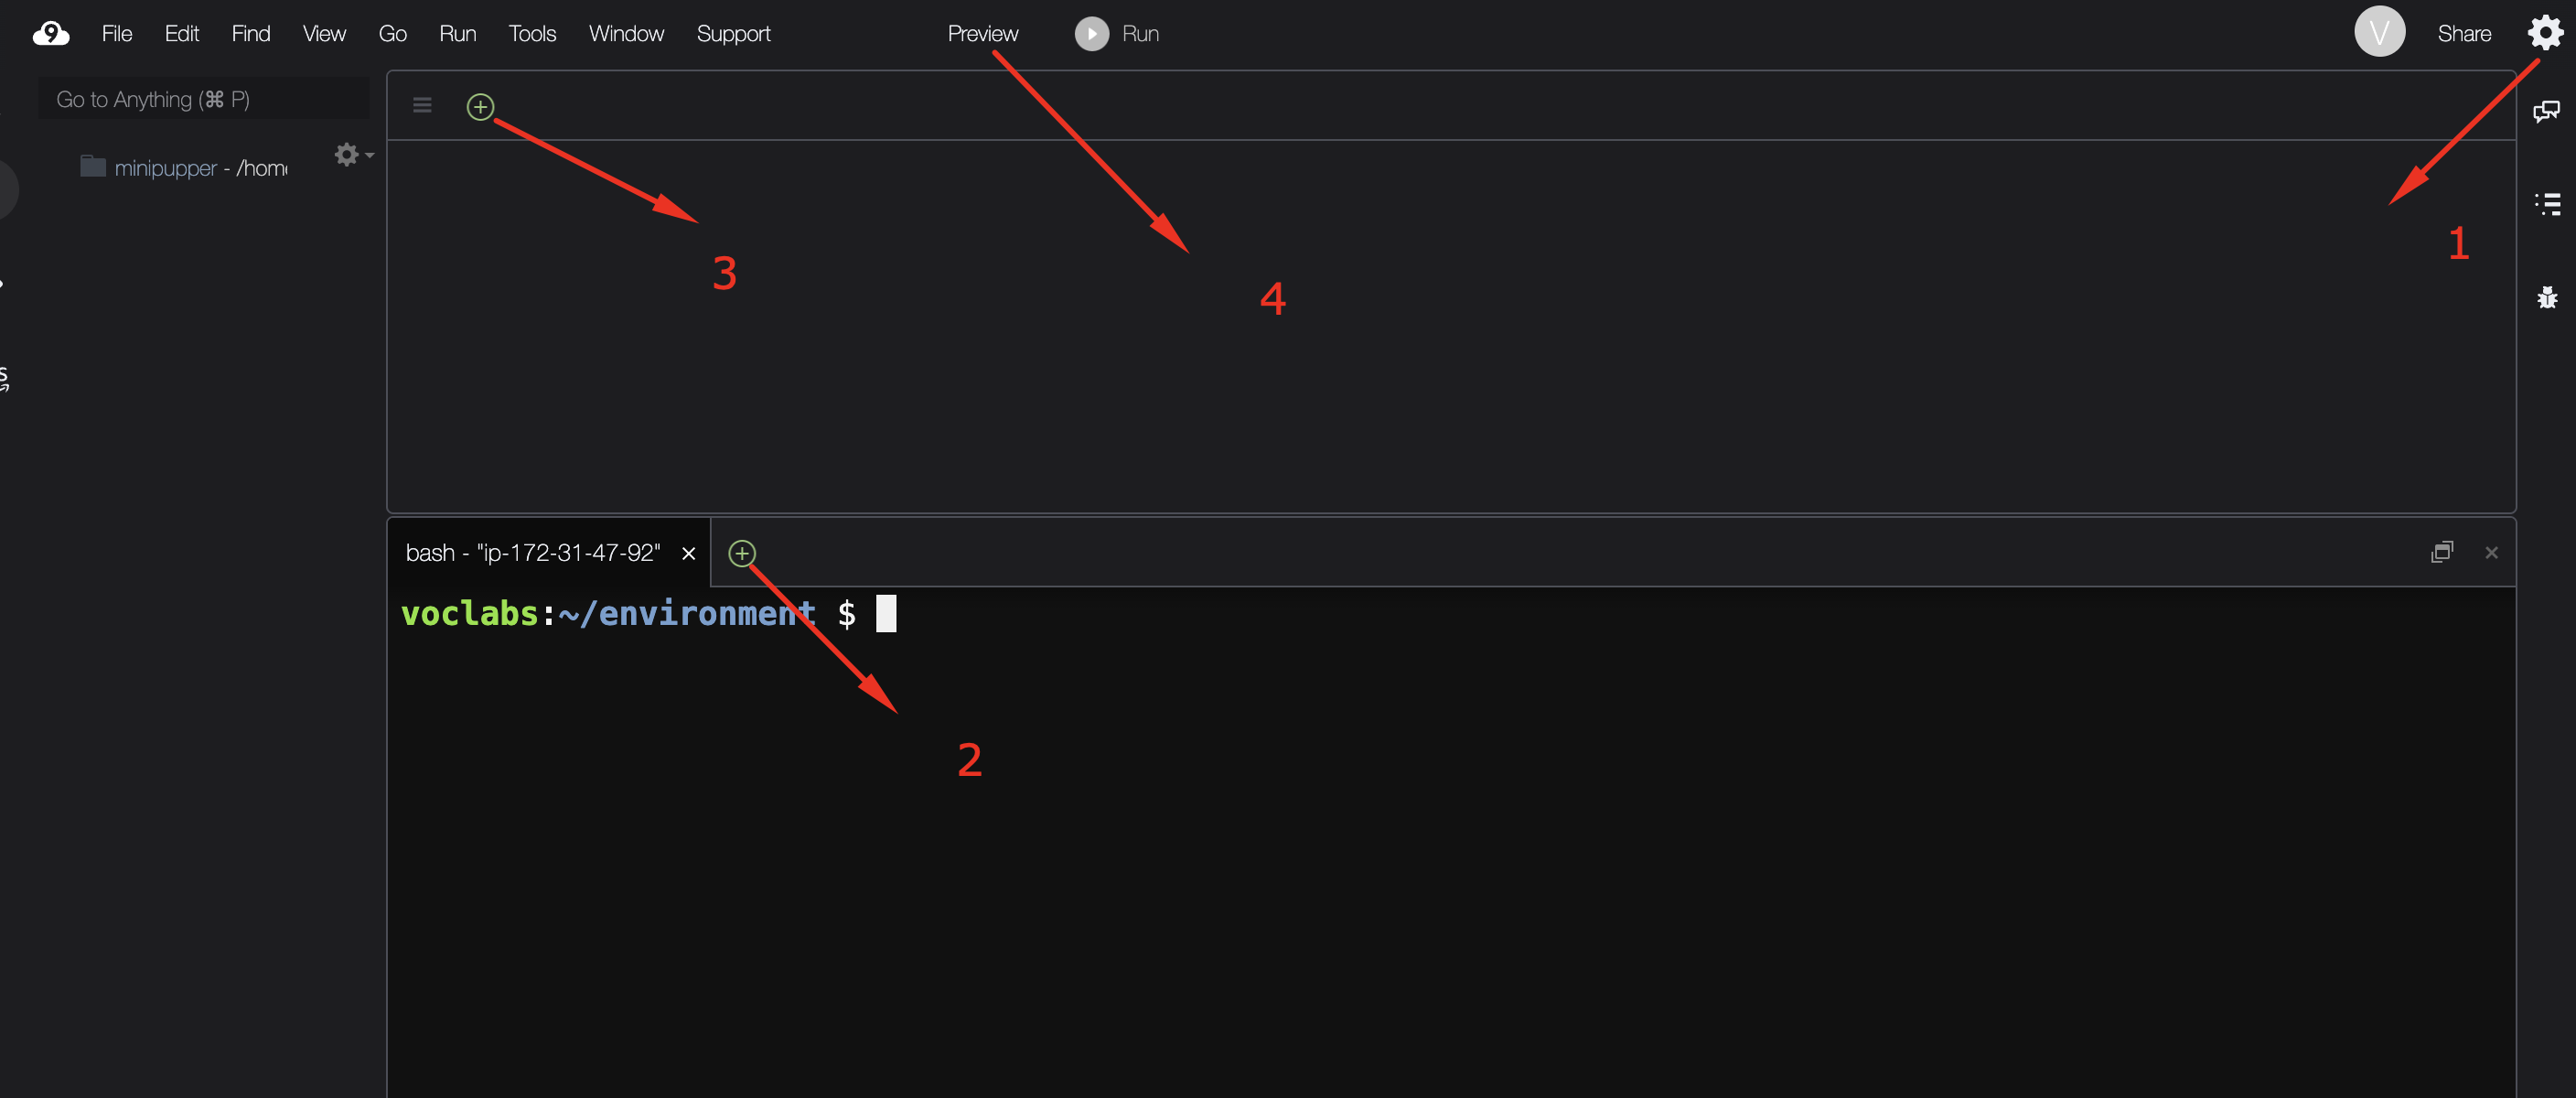
Figure: Cloud9 IDE interface
The Cloud9 IDE provides:
- User settings - Customize fonts, background colors, etc.
- Terminal window - Open new terminal tabs
- File editor - Edit code files
- Tab management - Open multiple files
Useful Linux Commands
# Check Ubuntu version
lsb_release -a

# Check system architecture
uname -m

# Check disk space
df -lh

# List block devices
lsblk

# Find mount point
findmnt -n -o SOURCE /
Install Quartus and Tools
Run the Installation Script
In your Cloud9 terminal, run:
curl -fsSL "https://temple.short.gy/ece2613" | sudo -E bash -
Wait approximately 10-15 minutes for the installation to complete.
Reboot the System
After installation completes, reboot:
sudo reboot
Verify Installation
After reconnecting, verify the setup:
uname -m
df -lh
Access DCV (Remote Desktop)
Open DCV from Cloud9
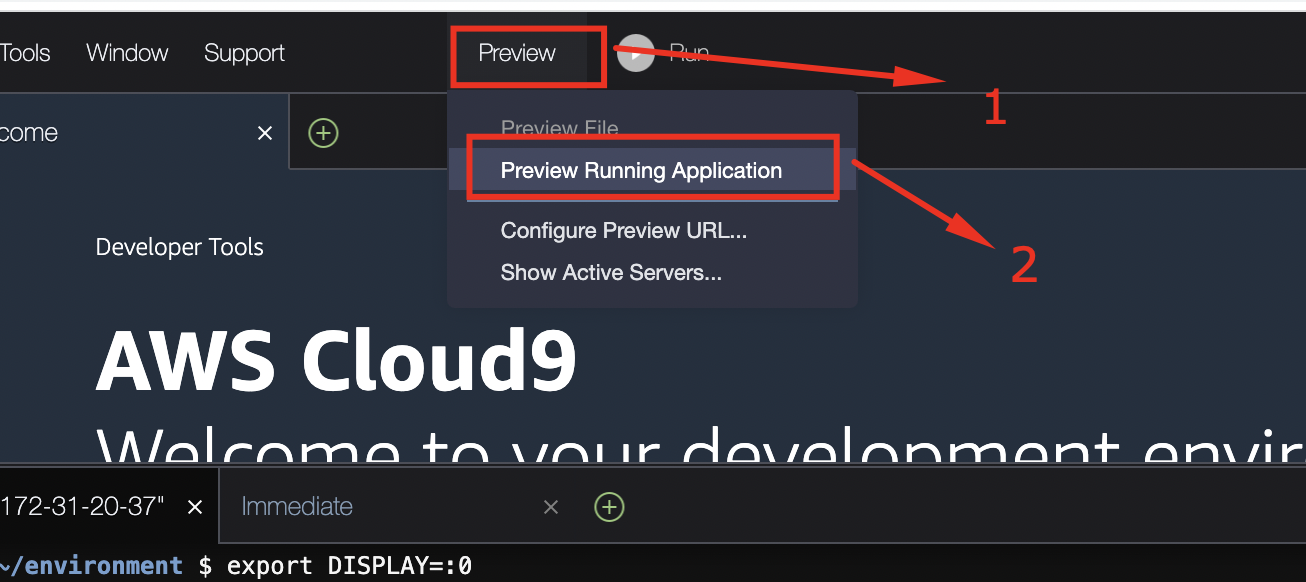
Figure: DCV access from Cloud9
- Look at the menu bar in Cloud9
- Click on Preview → Preview Running Application
- Click the expansion icon to open in a new browser tab
Figure: Preview expansion icon
First-Time Setup
When the desktop loads:
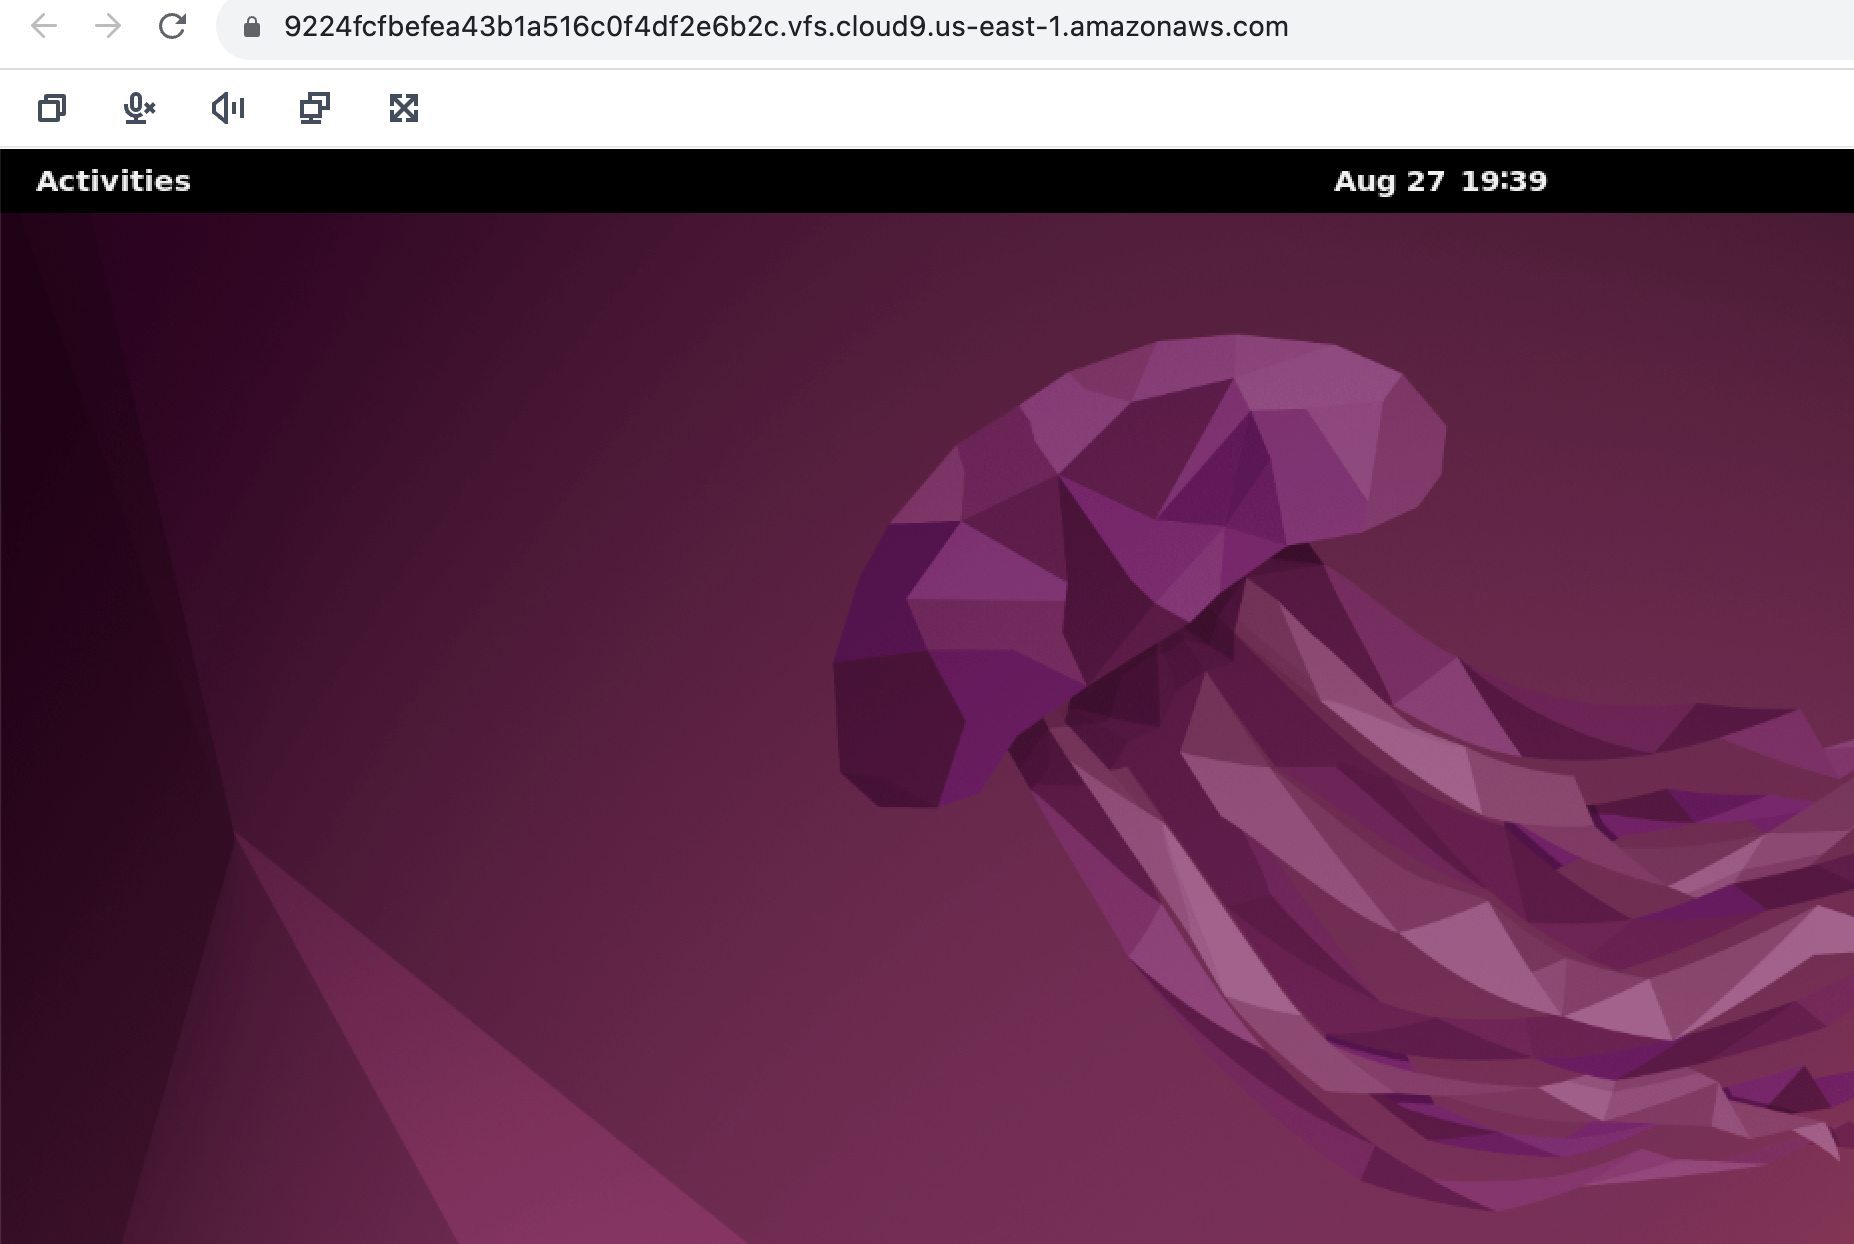
Figure: DCV desktop startup
- You may see a startup screen
- Click Allow when prompted for permissions
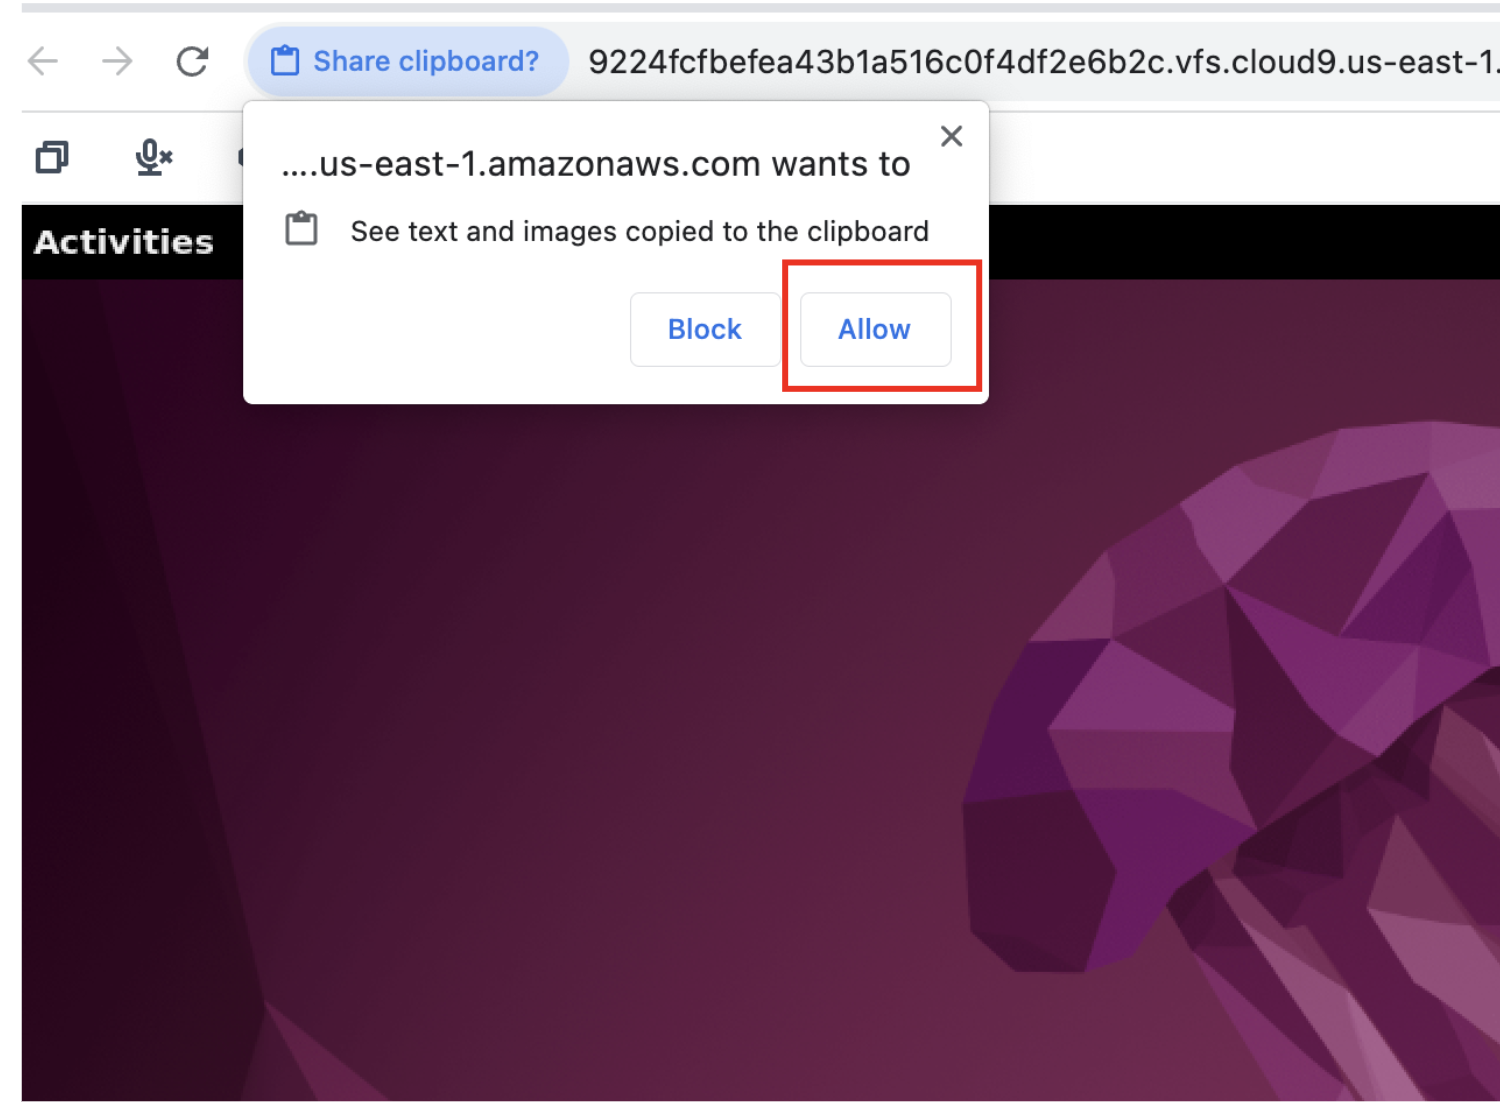
Figure: Desktop permission dialog
Configure Display for X Window
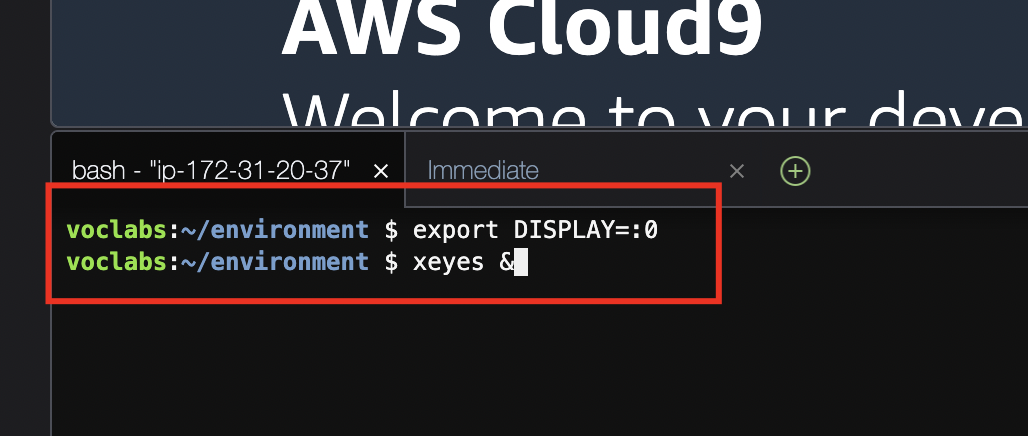
Figure: Terminal command check
In your Cloud9 terminal, set the DISPLAY variable:
export DISPLAY=:0
Test that X Window is working:
xeyes &
You should see the “xeyes” application appear on your DCV desktop.
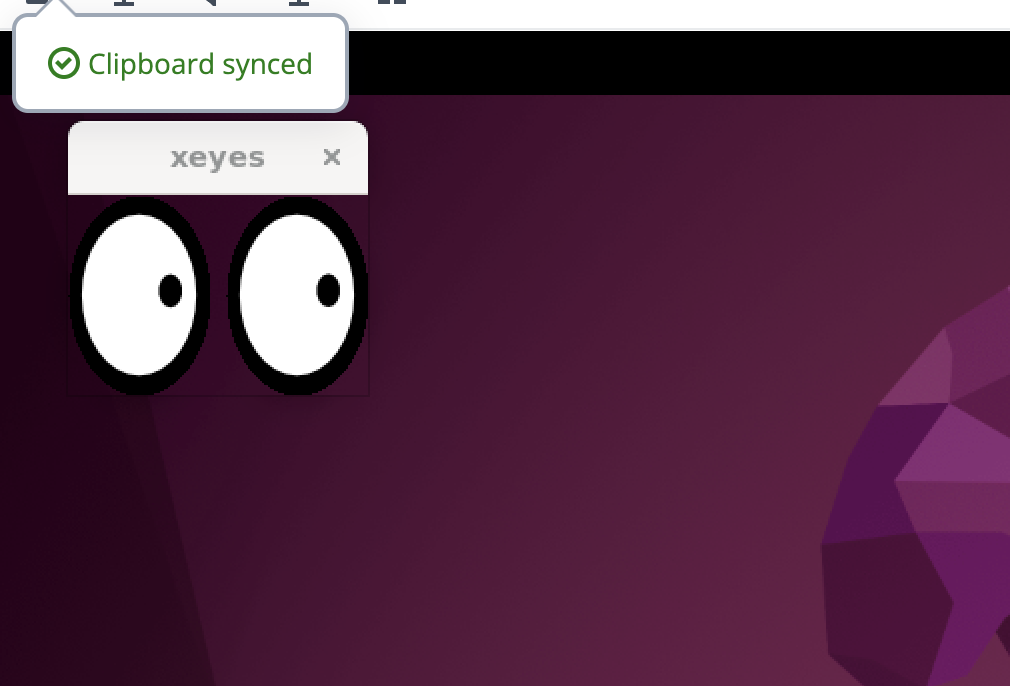
Figure: Xeyes test application
Running Quartus
Launch Quartus from Terminal
quartus &
Quartus will open in your DCV remote desktop window.
Important Files to Know
| File Extension | Description |
|---|---|
*.v or *.sv | Verilog/SystemVerilog source files |
*.qpf | Quartus Project File |
*.qsf | Quartus Settings File (pin assignments) |
*.sof | SRAM Object File (for programming) |
*.svf | Serial Vector Format (for submission) |
Quick Reference
Starting Your Lab Session
- Log into AWS Academy Canvas
- Open your course and go to Learner Lab
- Click Start Lab and wait for green indicator
- Click AWS to open console
- Search for Cloud9 and open your environment
- Access DCV for GUI applications
Ending Your Session
- Save all your work
- Close the DCV window
- The Cloud9 environment will auto-hibernate after inactivity
Troubleshooting
| Issue | Solution |
|---|---|
| DCV not loading | Use Google Chrome browser |
| Display not working | Run export DISPLAY=:0 |
| Quartus won’t start | Check if installation completed, try which quartus |
| Out of disk space | Run df -lh to check, clean up old files |
Additional Resources
- AWS Setup Guide PDF
- EDA Playground - Online Verilog simulator
- DE10-Lite Documentation